BLOGGING 101 // How To Edit Photos
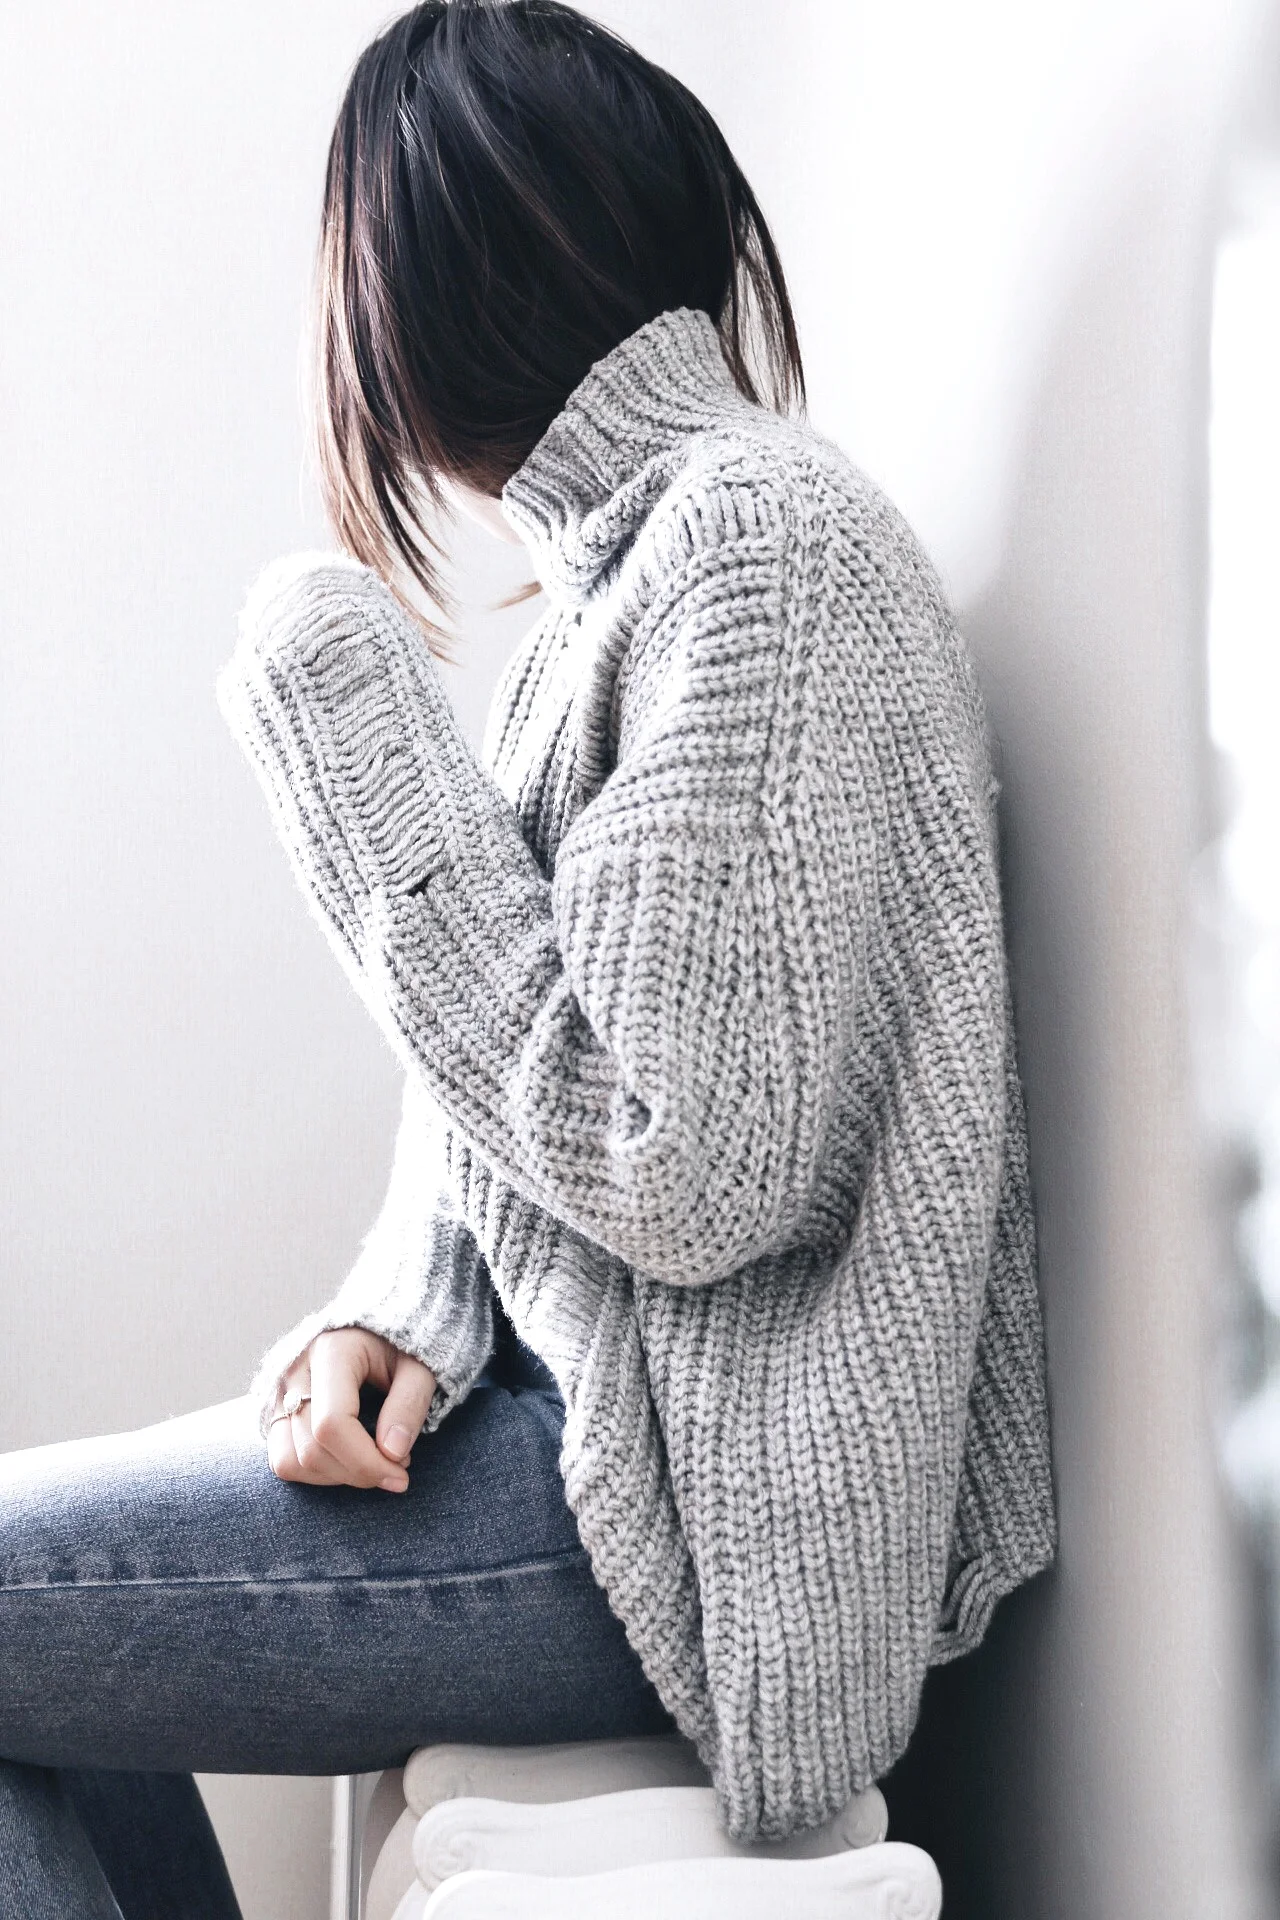
Alright my amazing friends - here is the answer to the question many of you have been asking me for quite some time now. I'm so excited to share with you my editing process.
These are my go-to edit habits for almost all of my photos. I do switch it up if the photo calls for it, but I will be doing another post on those another time. So here we go!
What I shoot with:
Camera - Canon 6D w/ 50 mm f/1.8 + 17-40mm f/1.4 L OR iPhone 7 Plus
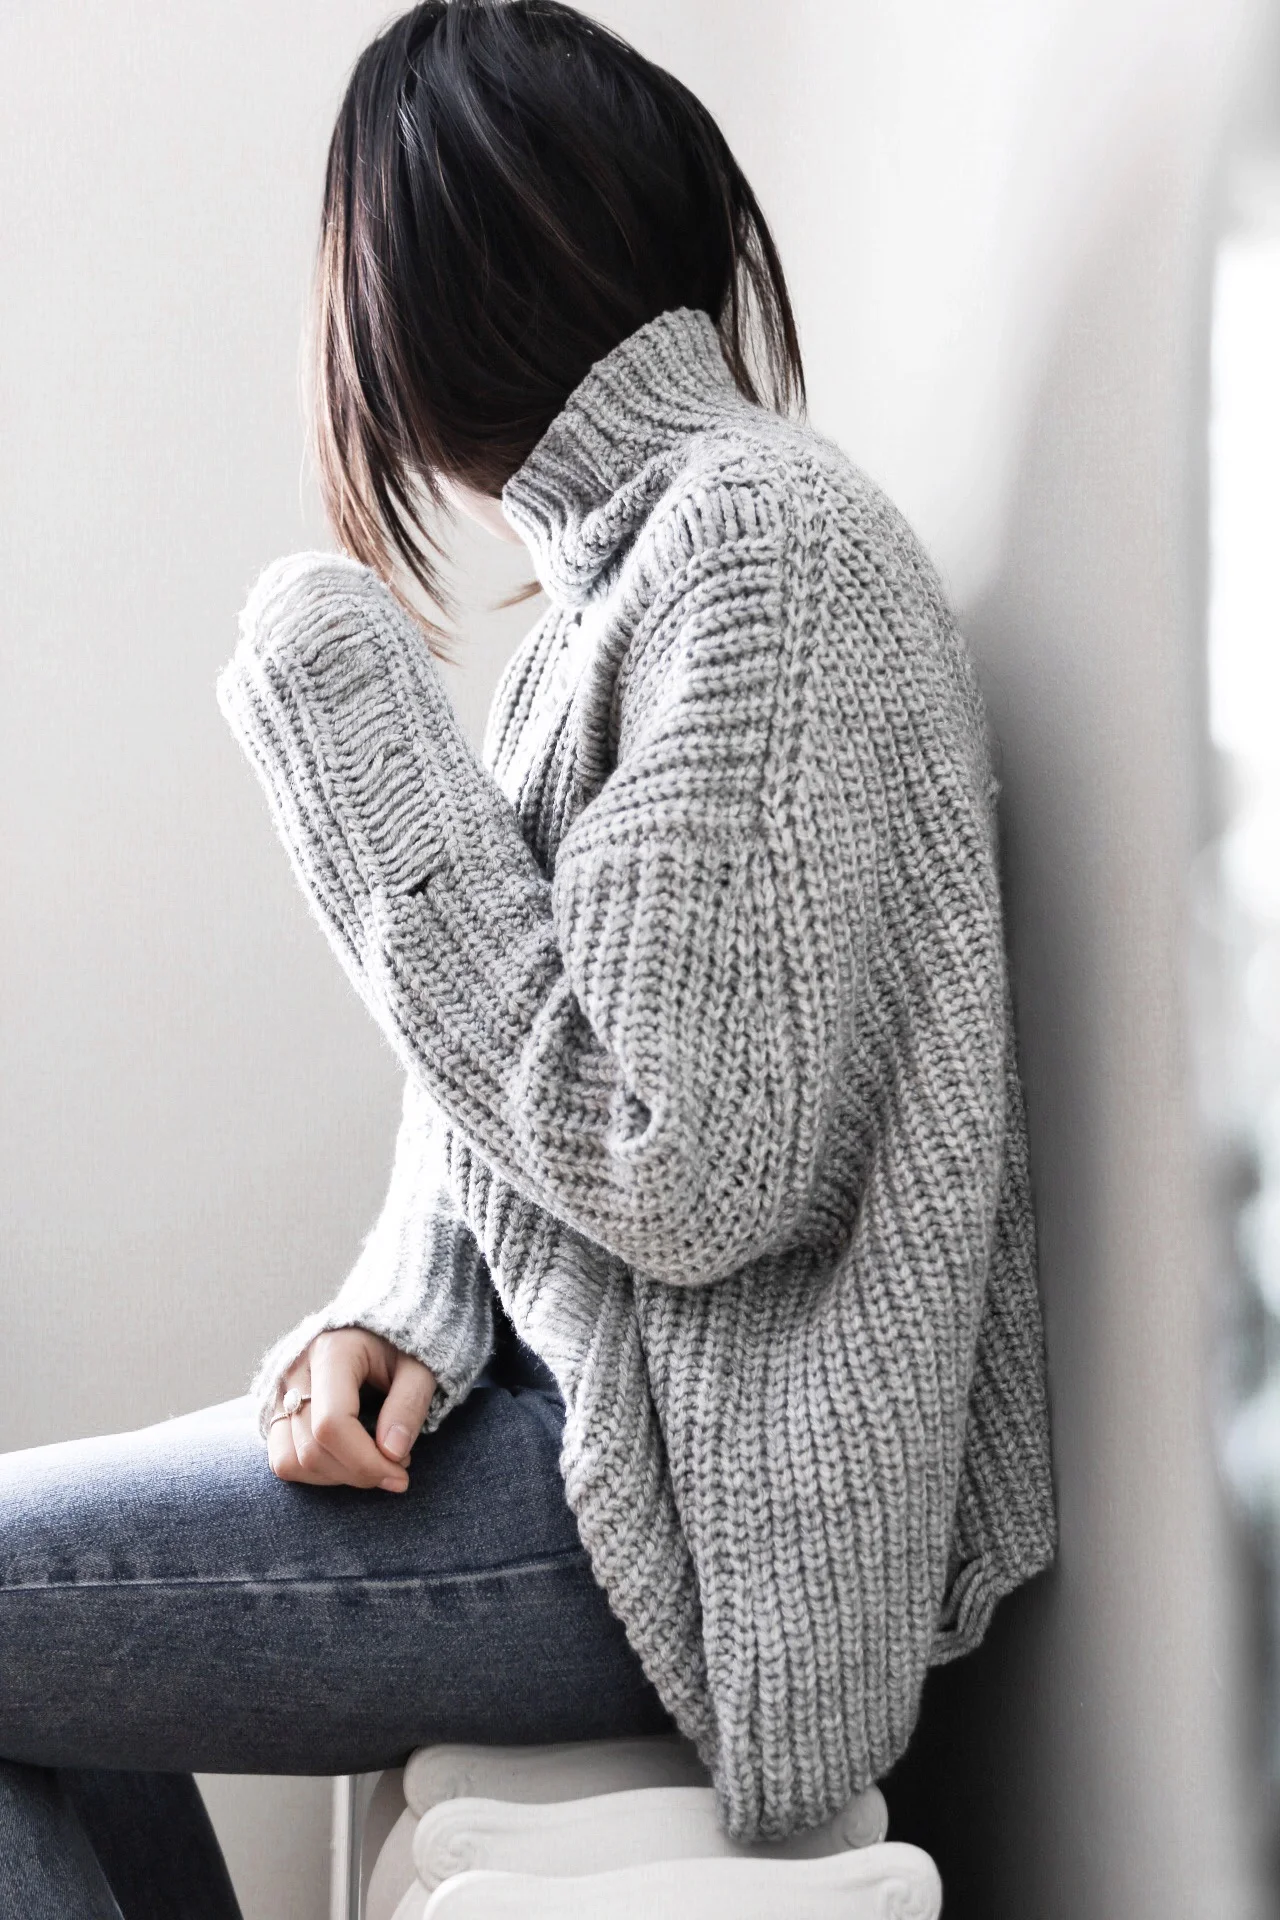
How I get from the Original --> Final:
Editing Program:
LIGHTROOM
PicTapGo
SNAPSEED
LIGHTROOM
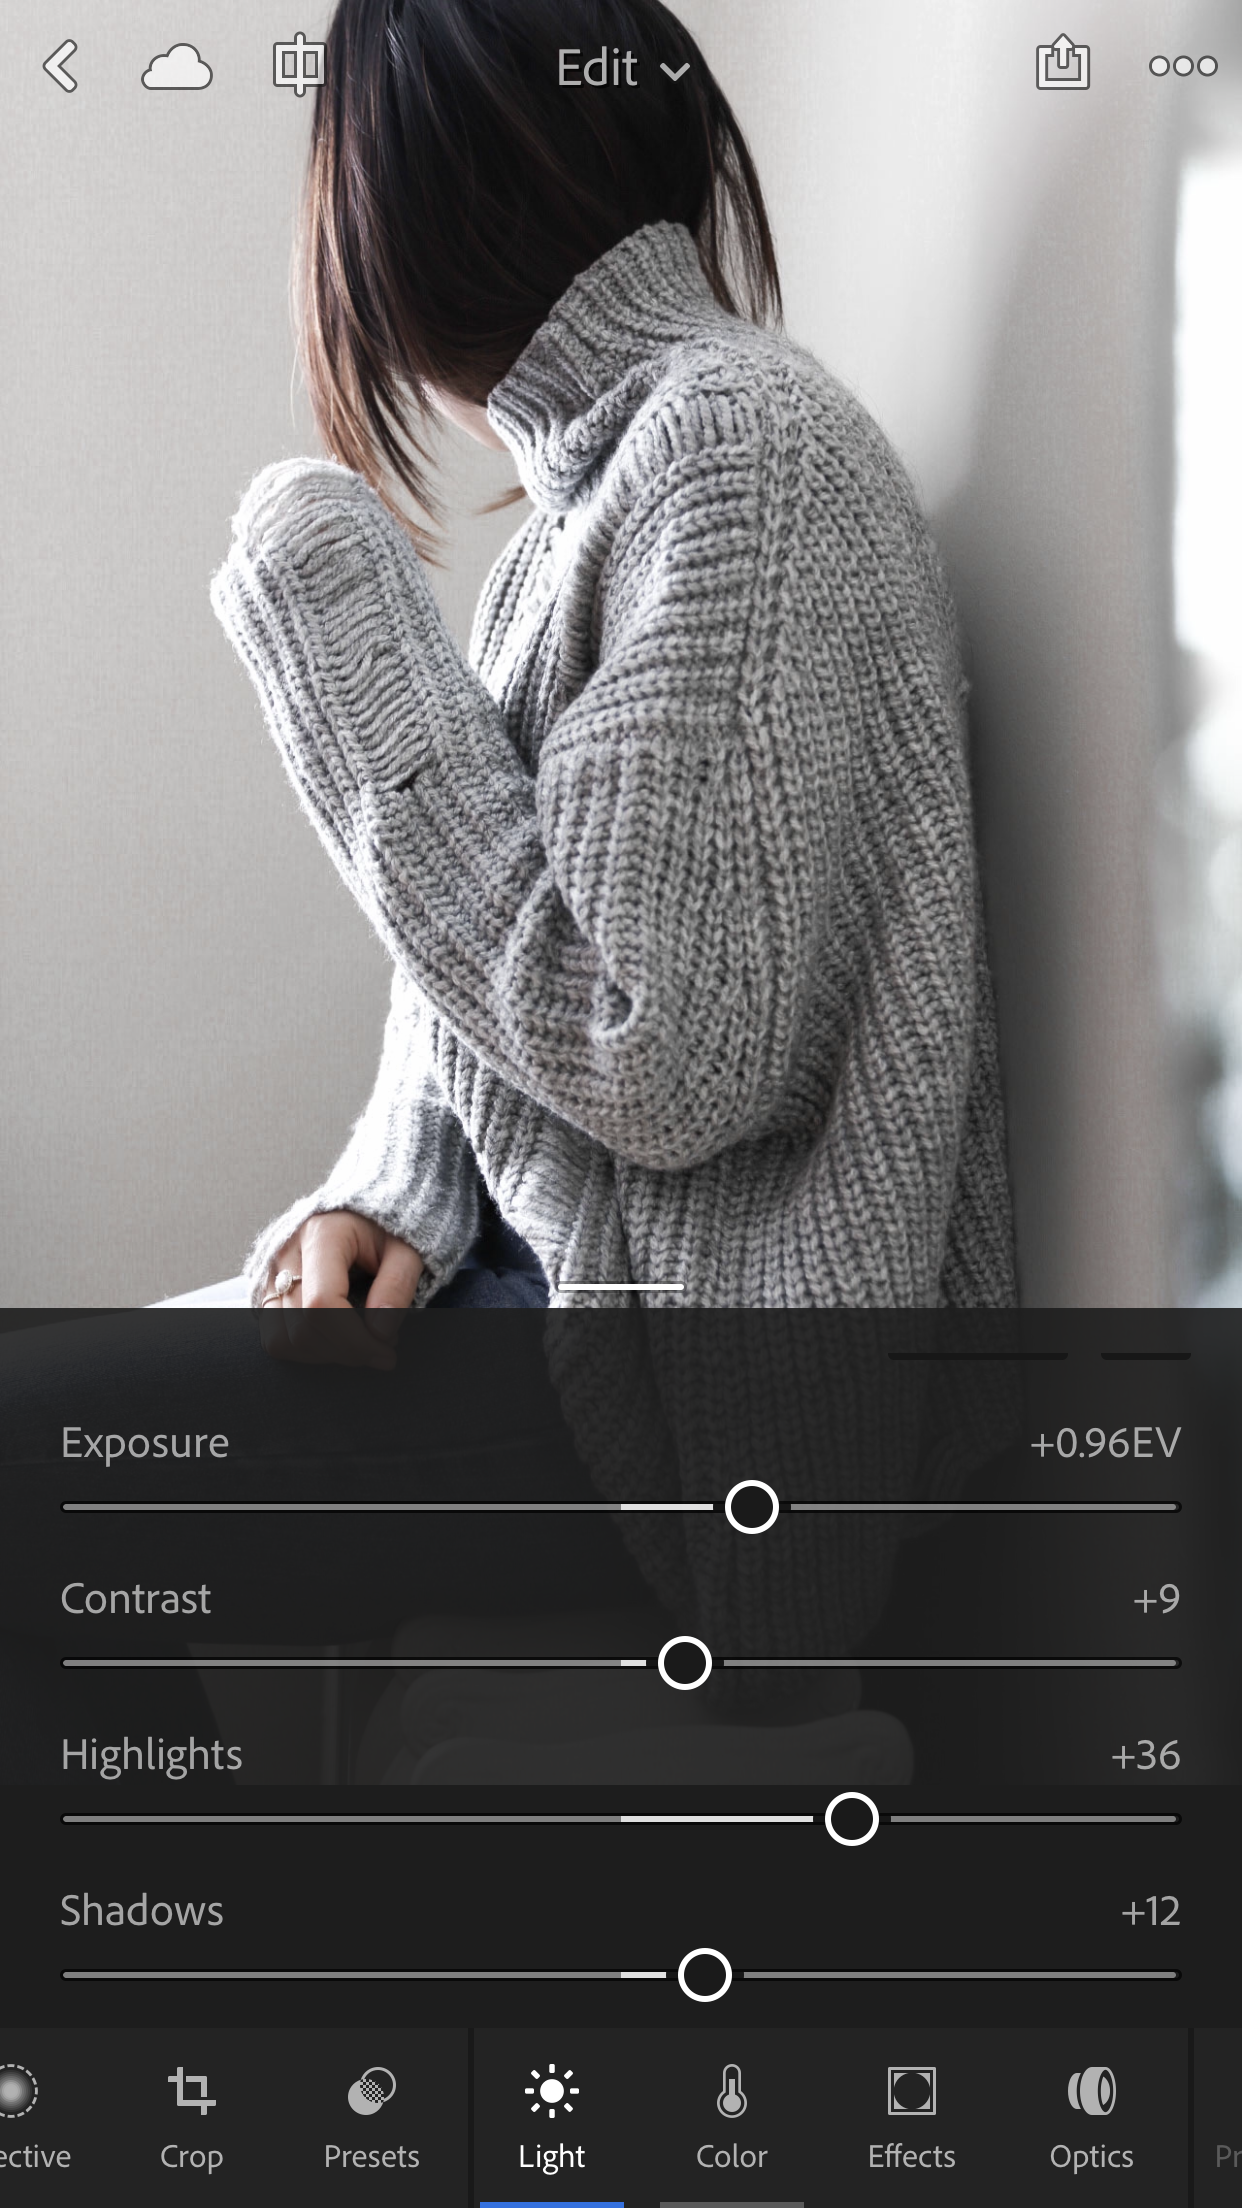
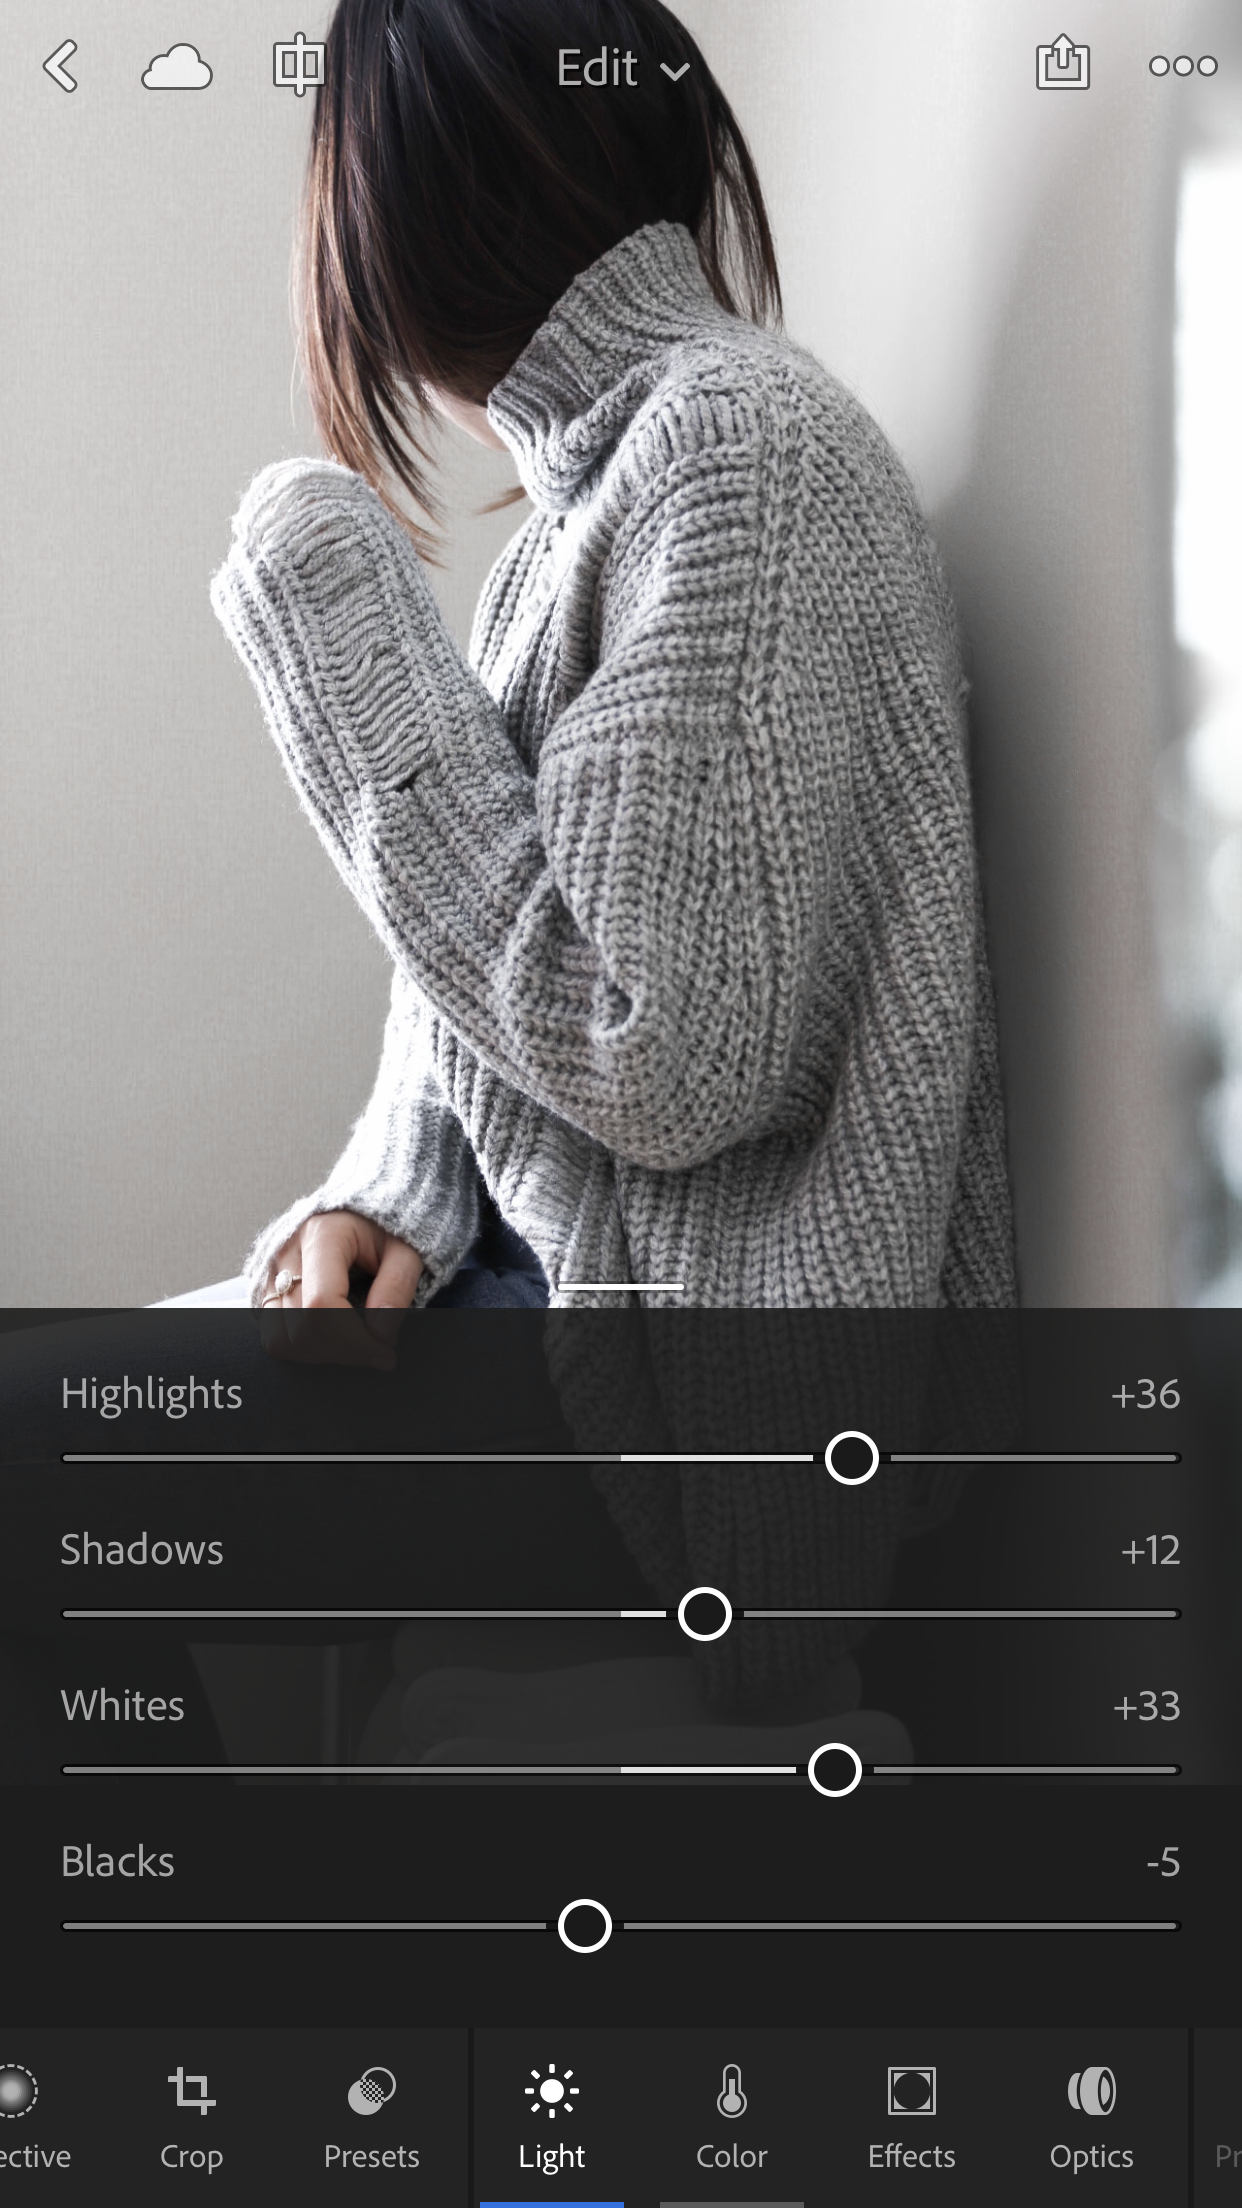
I always start off with Lightroom - I like my images a little over-exposed + under-saturated. Here are my steps in Lightroom:
1. Increase Exposure
2. Increase contrast ~ 10
3. Increase Highlights + Whites
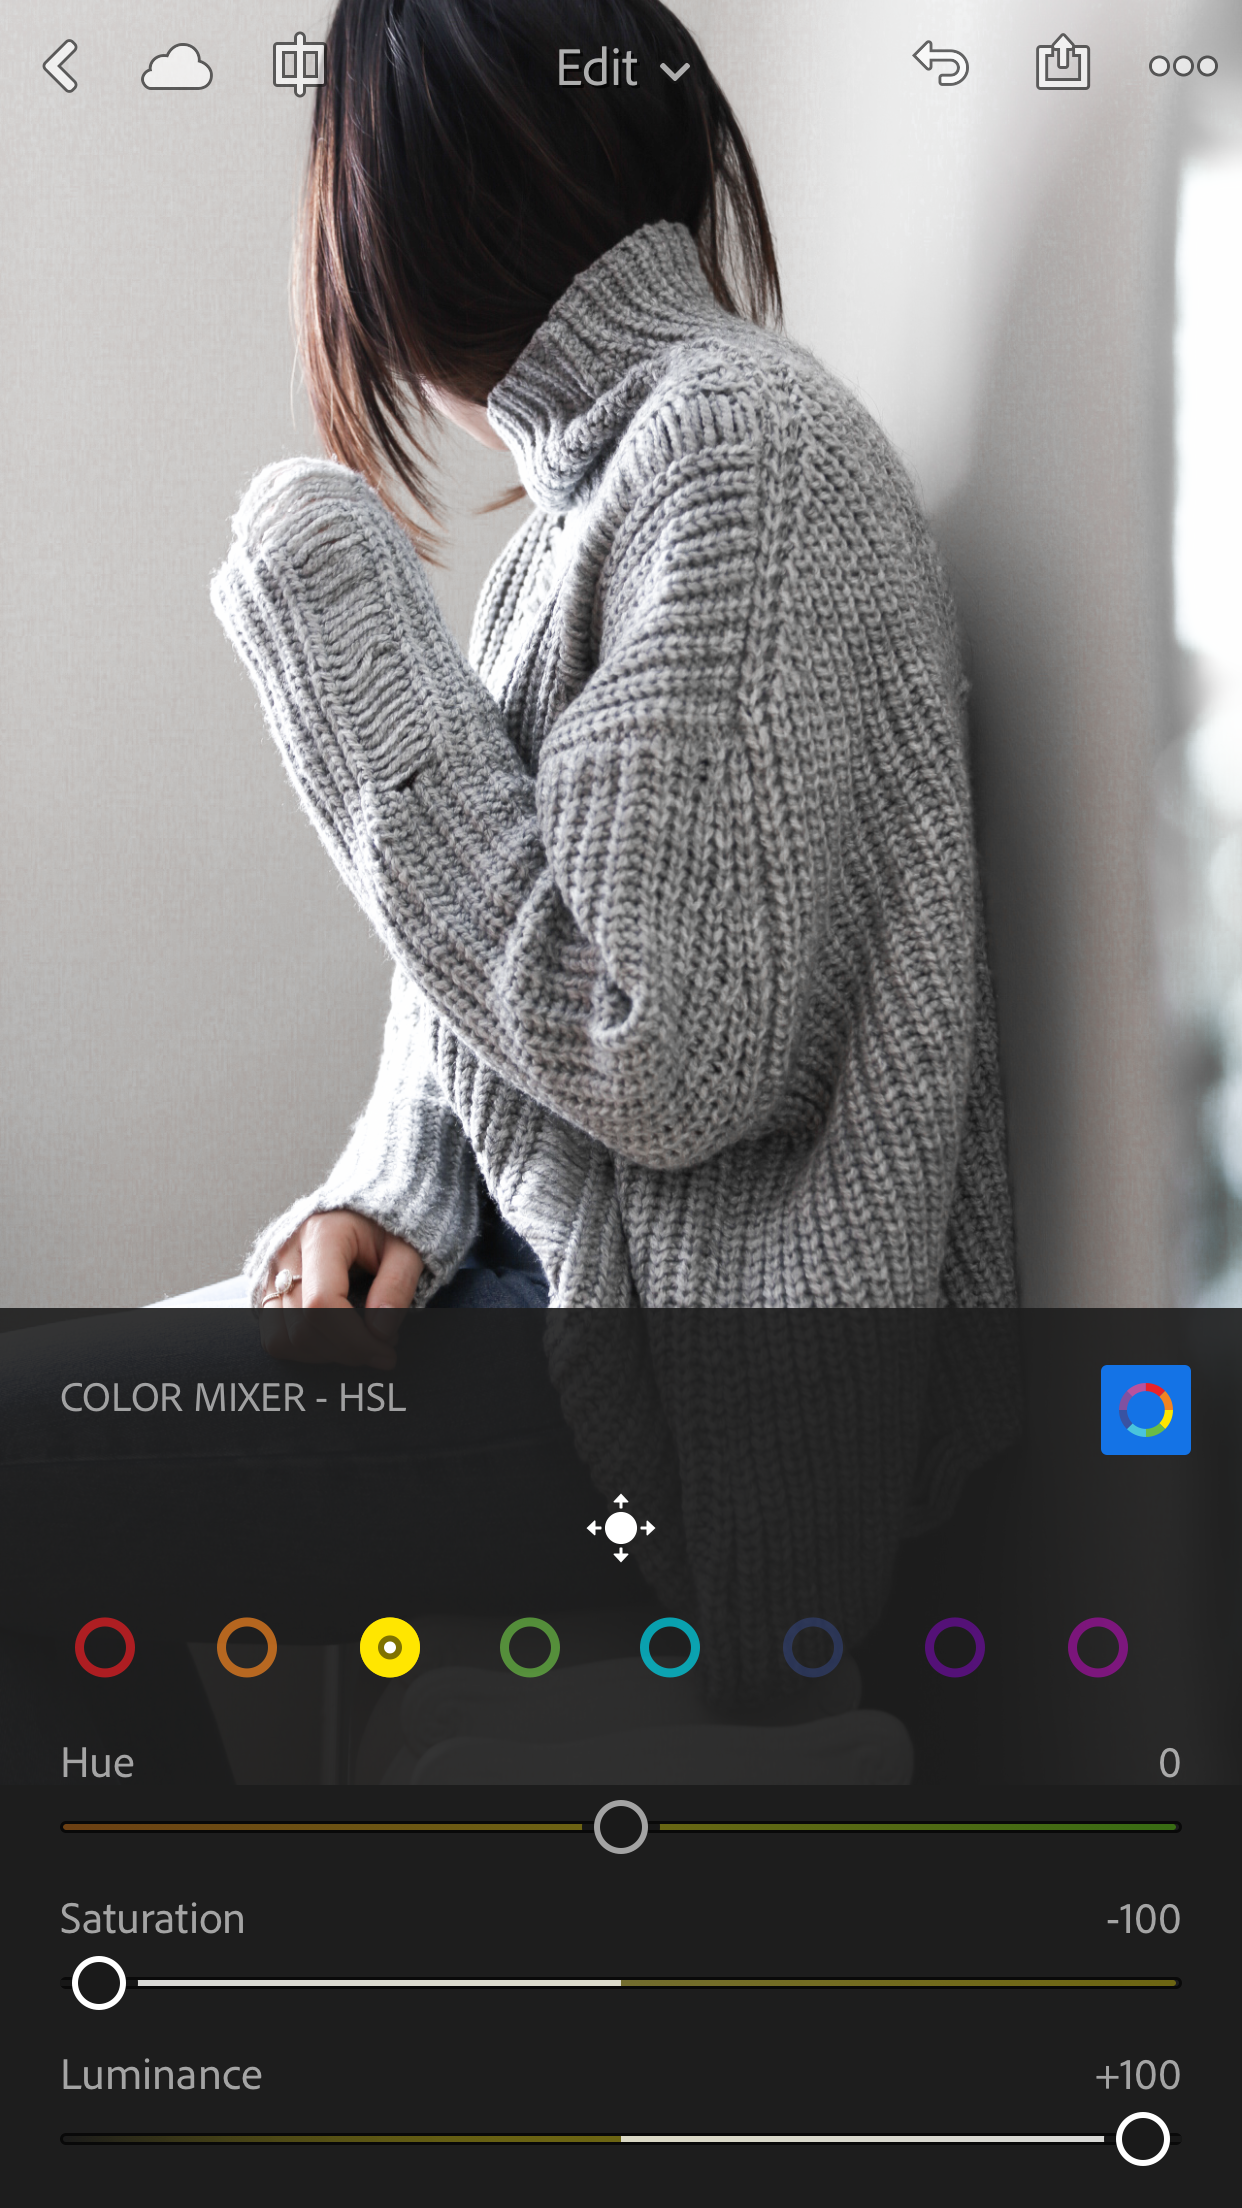
4. Under Color > Yellows > Decrease Yellow Saturation to 0 > Increase Yellow Luminance
PicTapGo
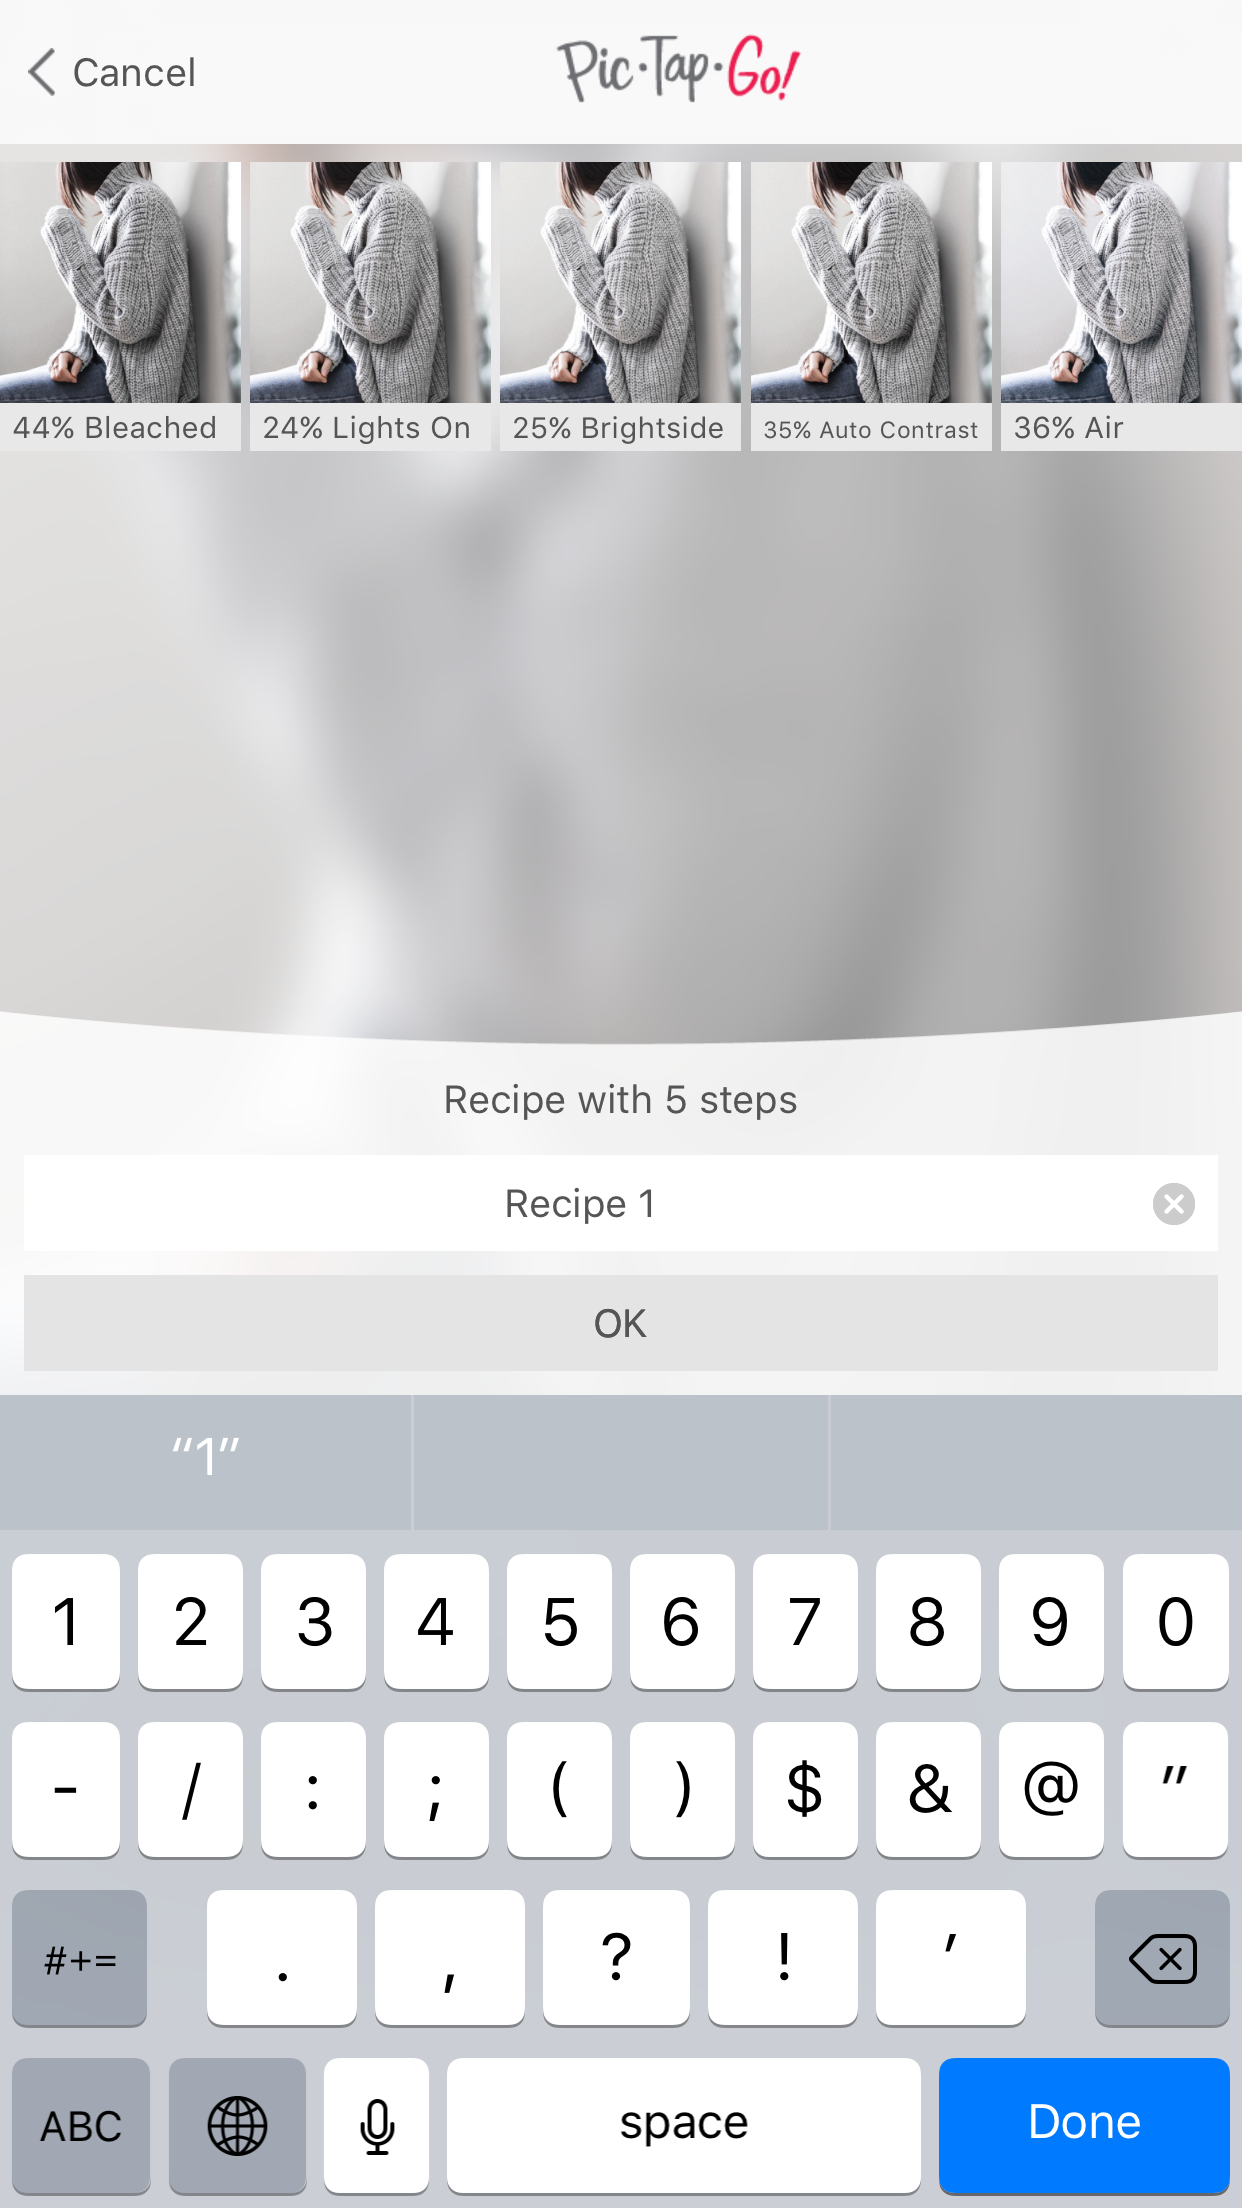
I used to use VSCO , but I recently discovered PicTapGo that has more sensitive filters that leave my images in a higher resolution. The benefit of this app is that you can layer filters + control the intensity in the app. My favorites are:
1. Auto Contrast
2. Bleached
3. Lights On
4. Brightside
5. Air
I use them at various intensities depending on the image.
SNAPSEED
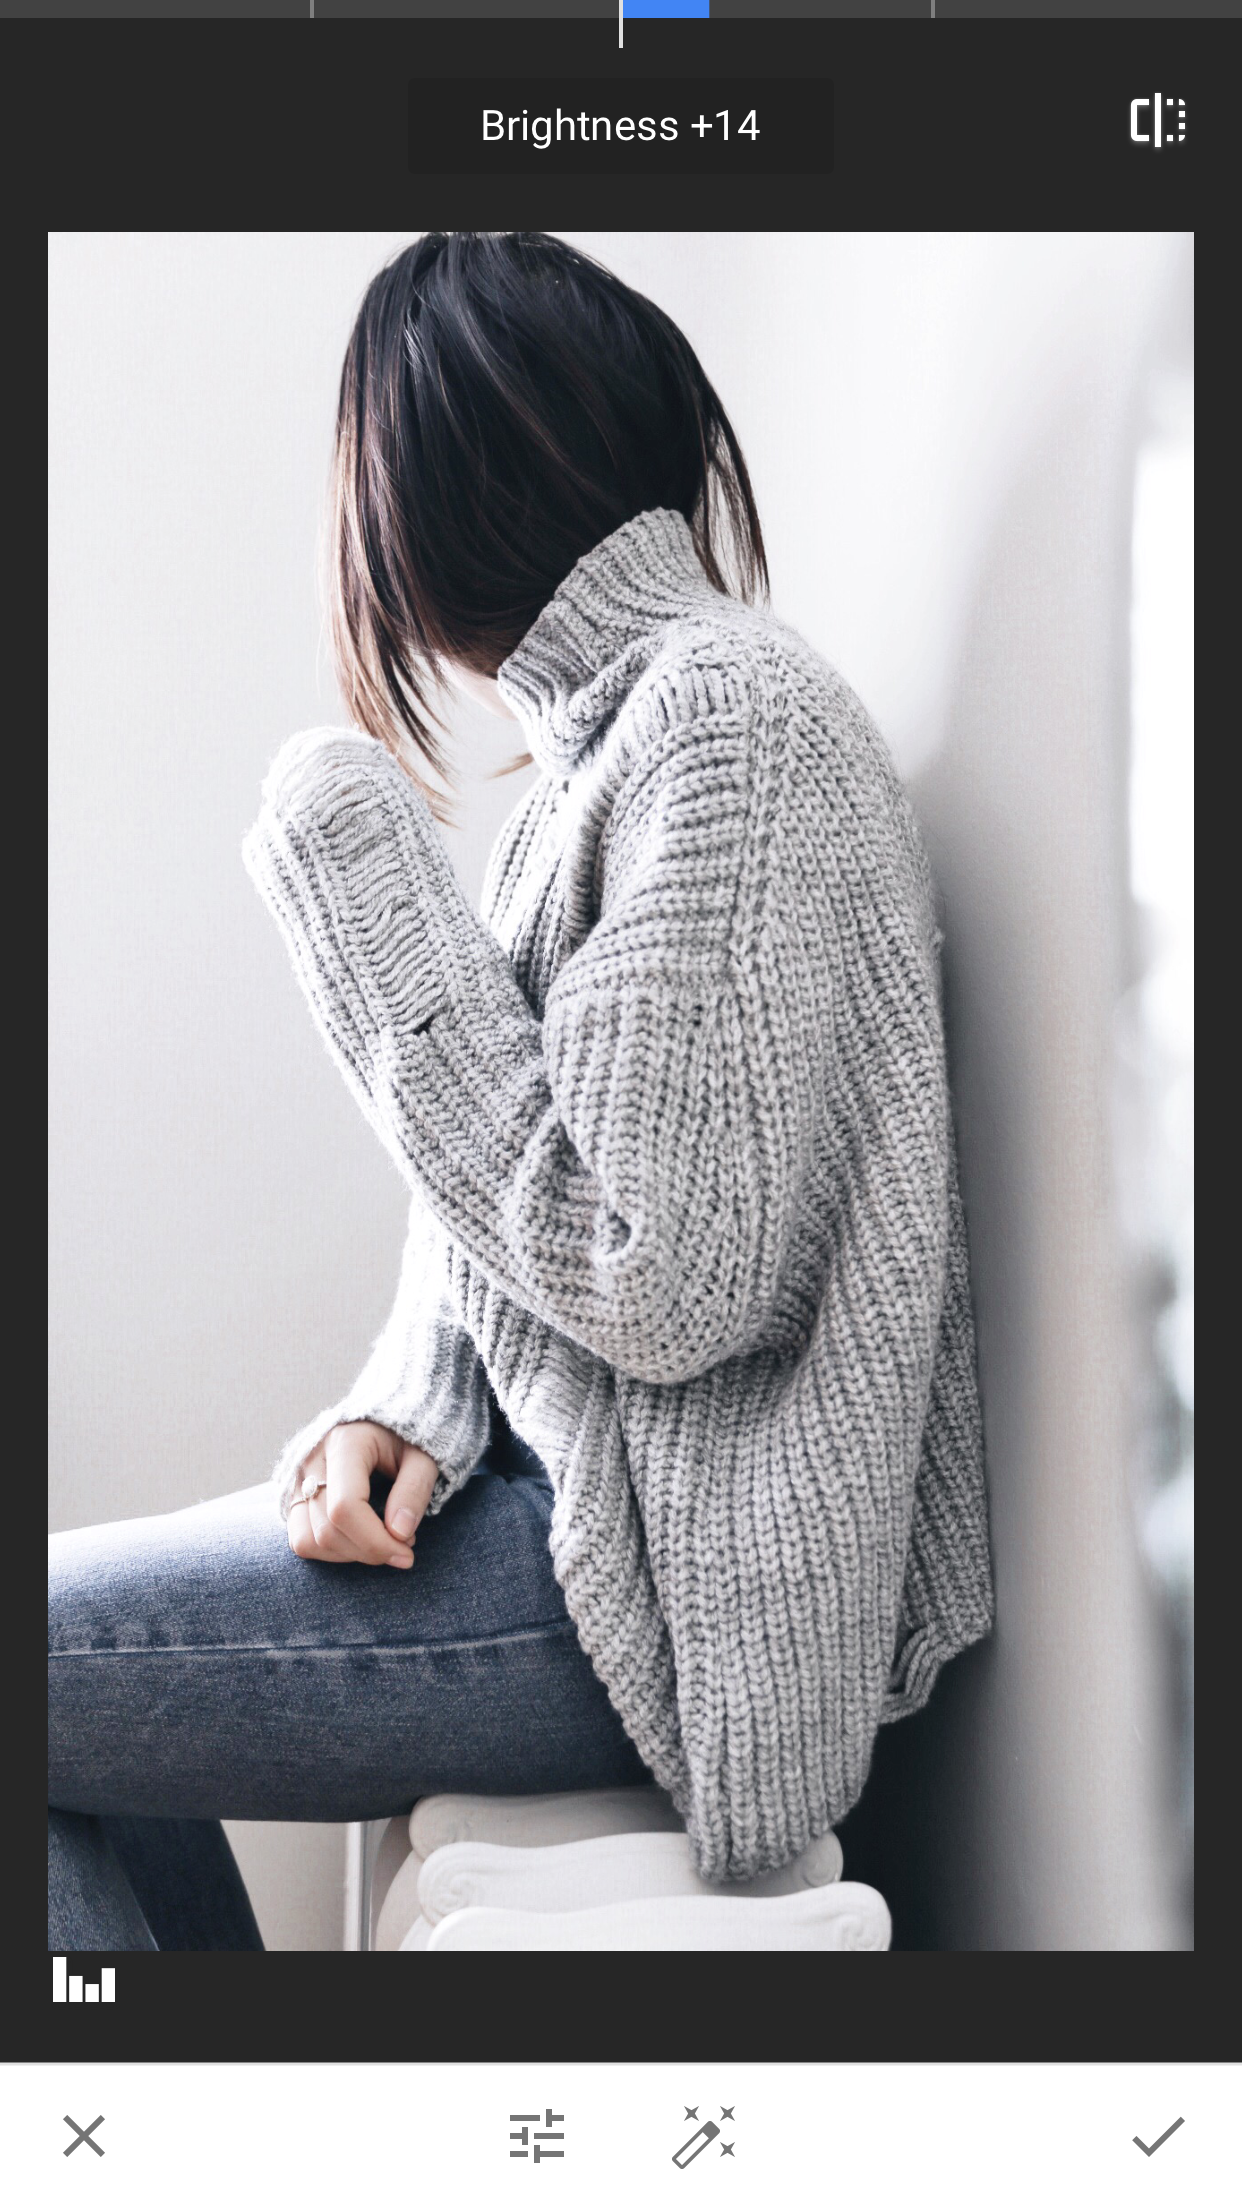
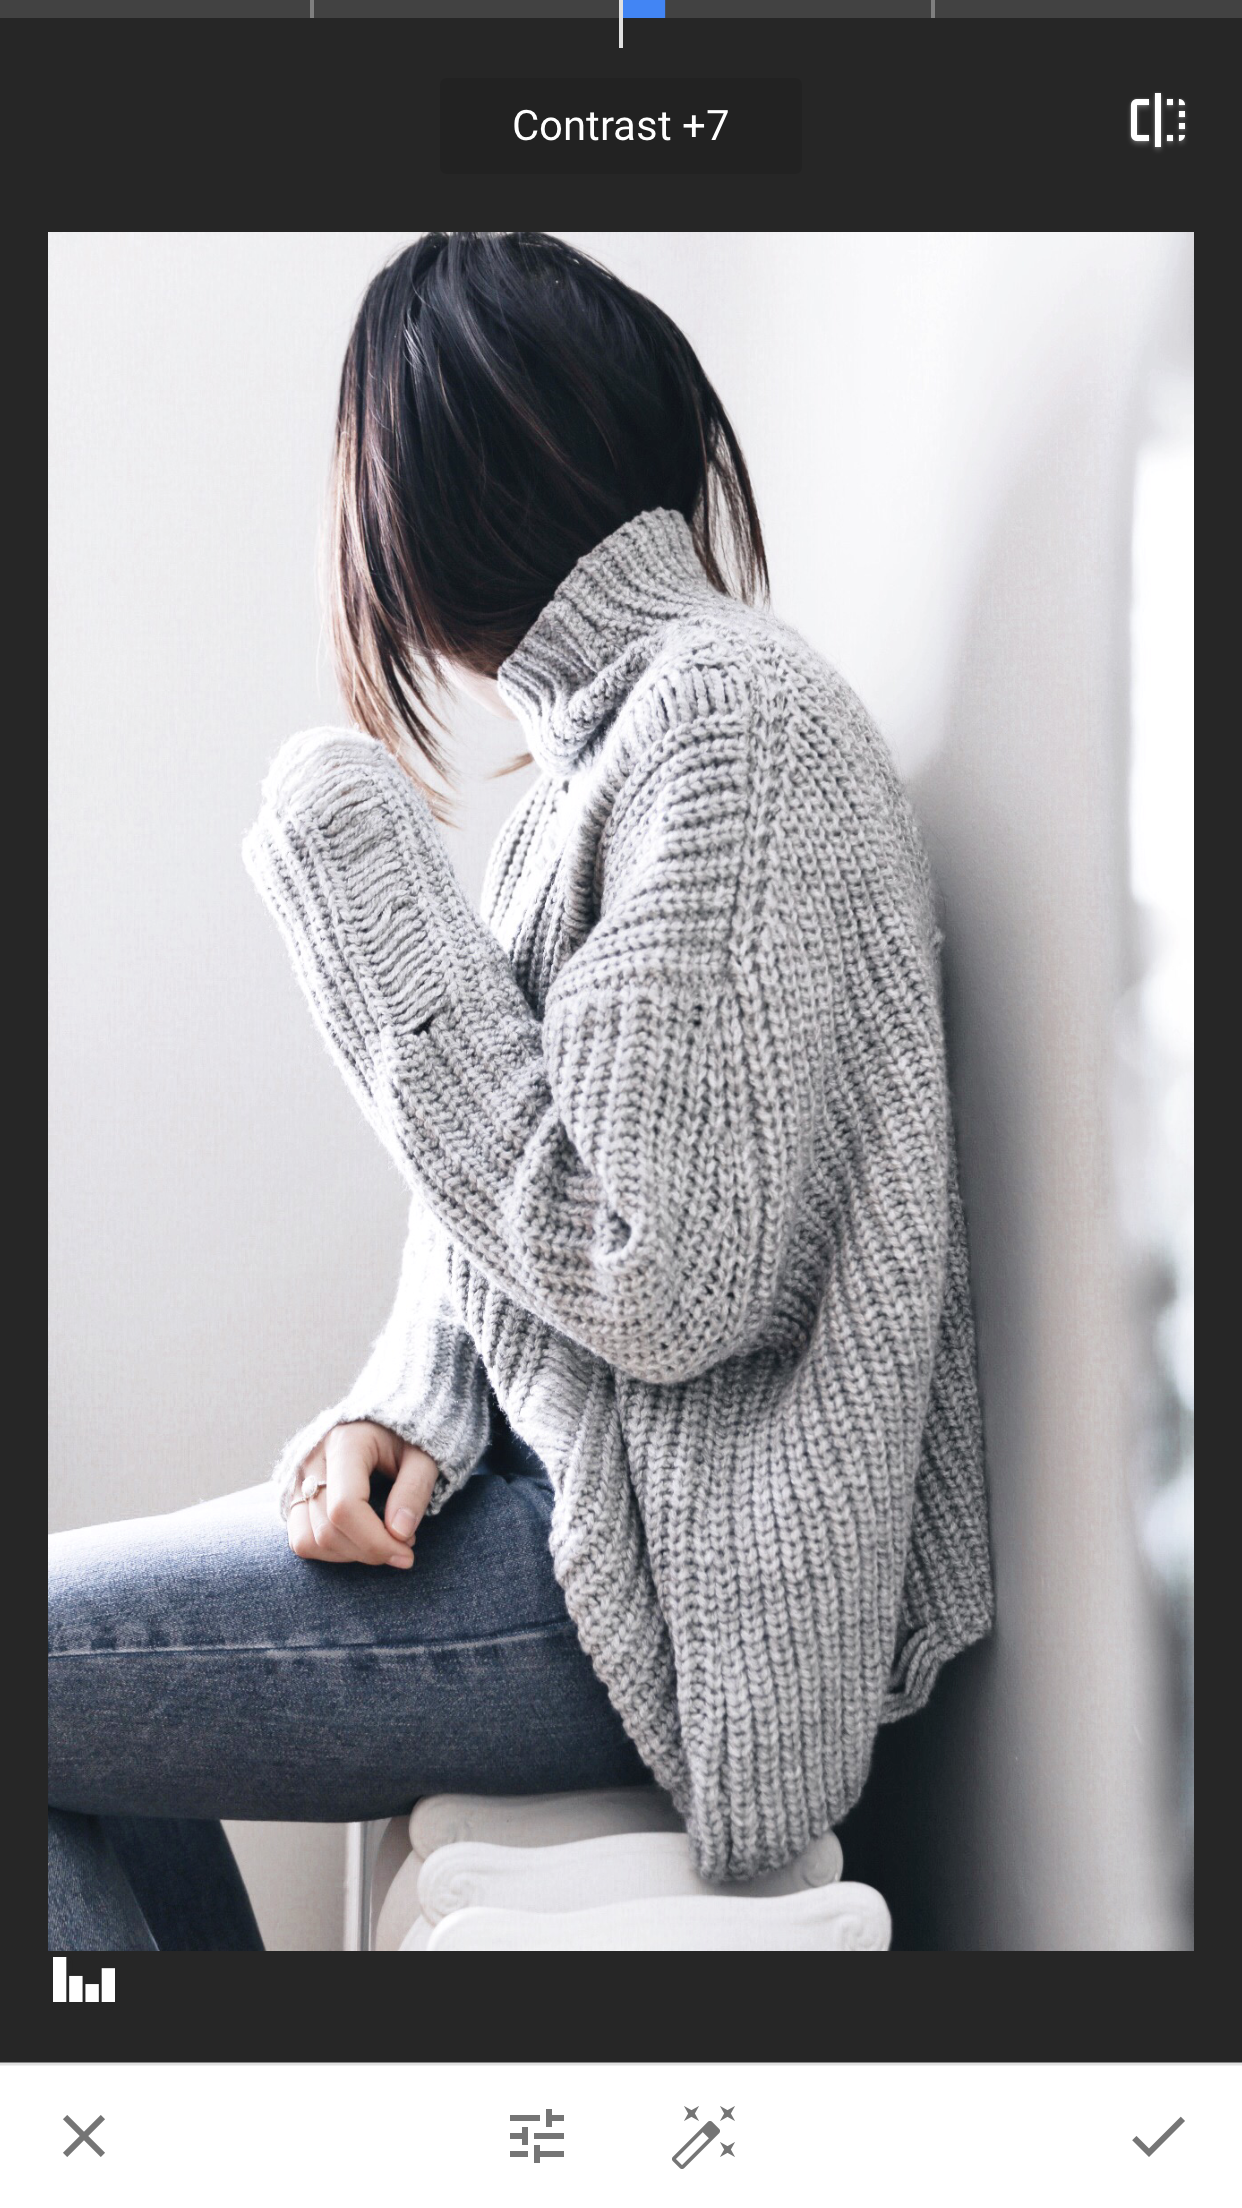
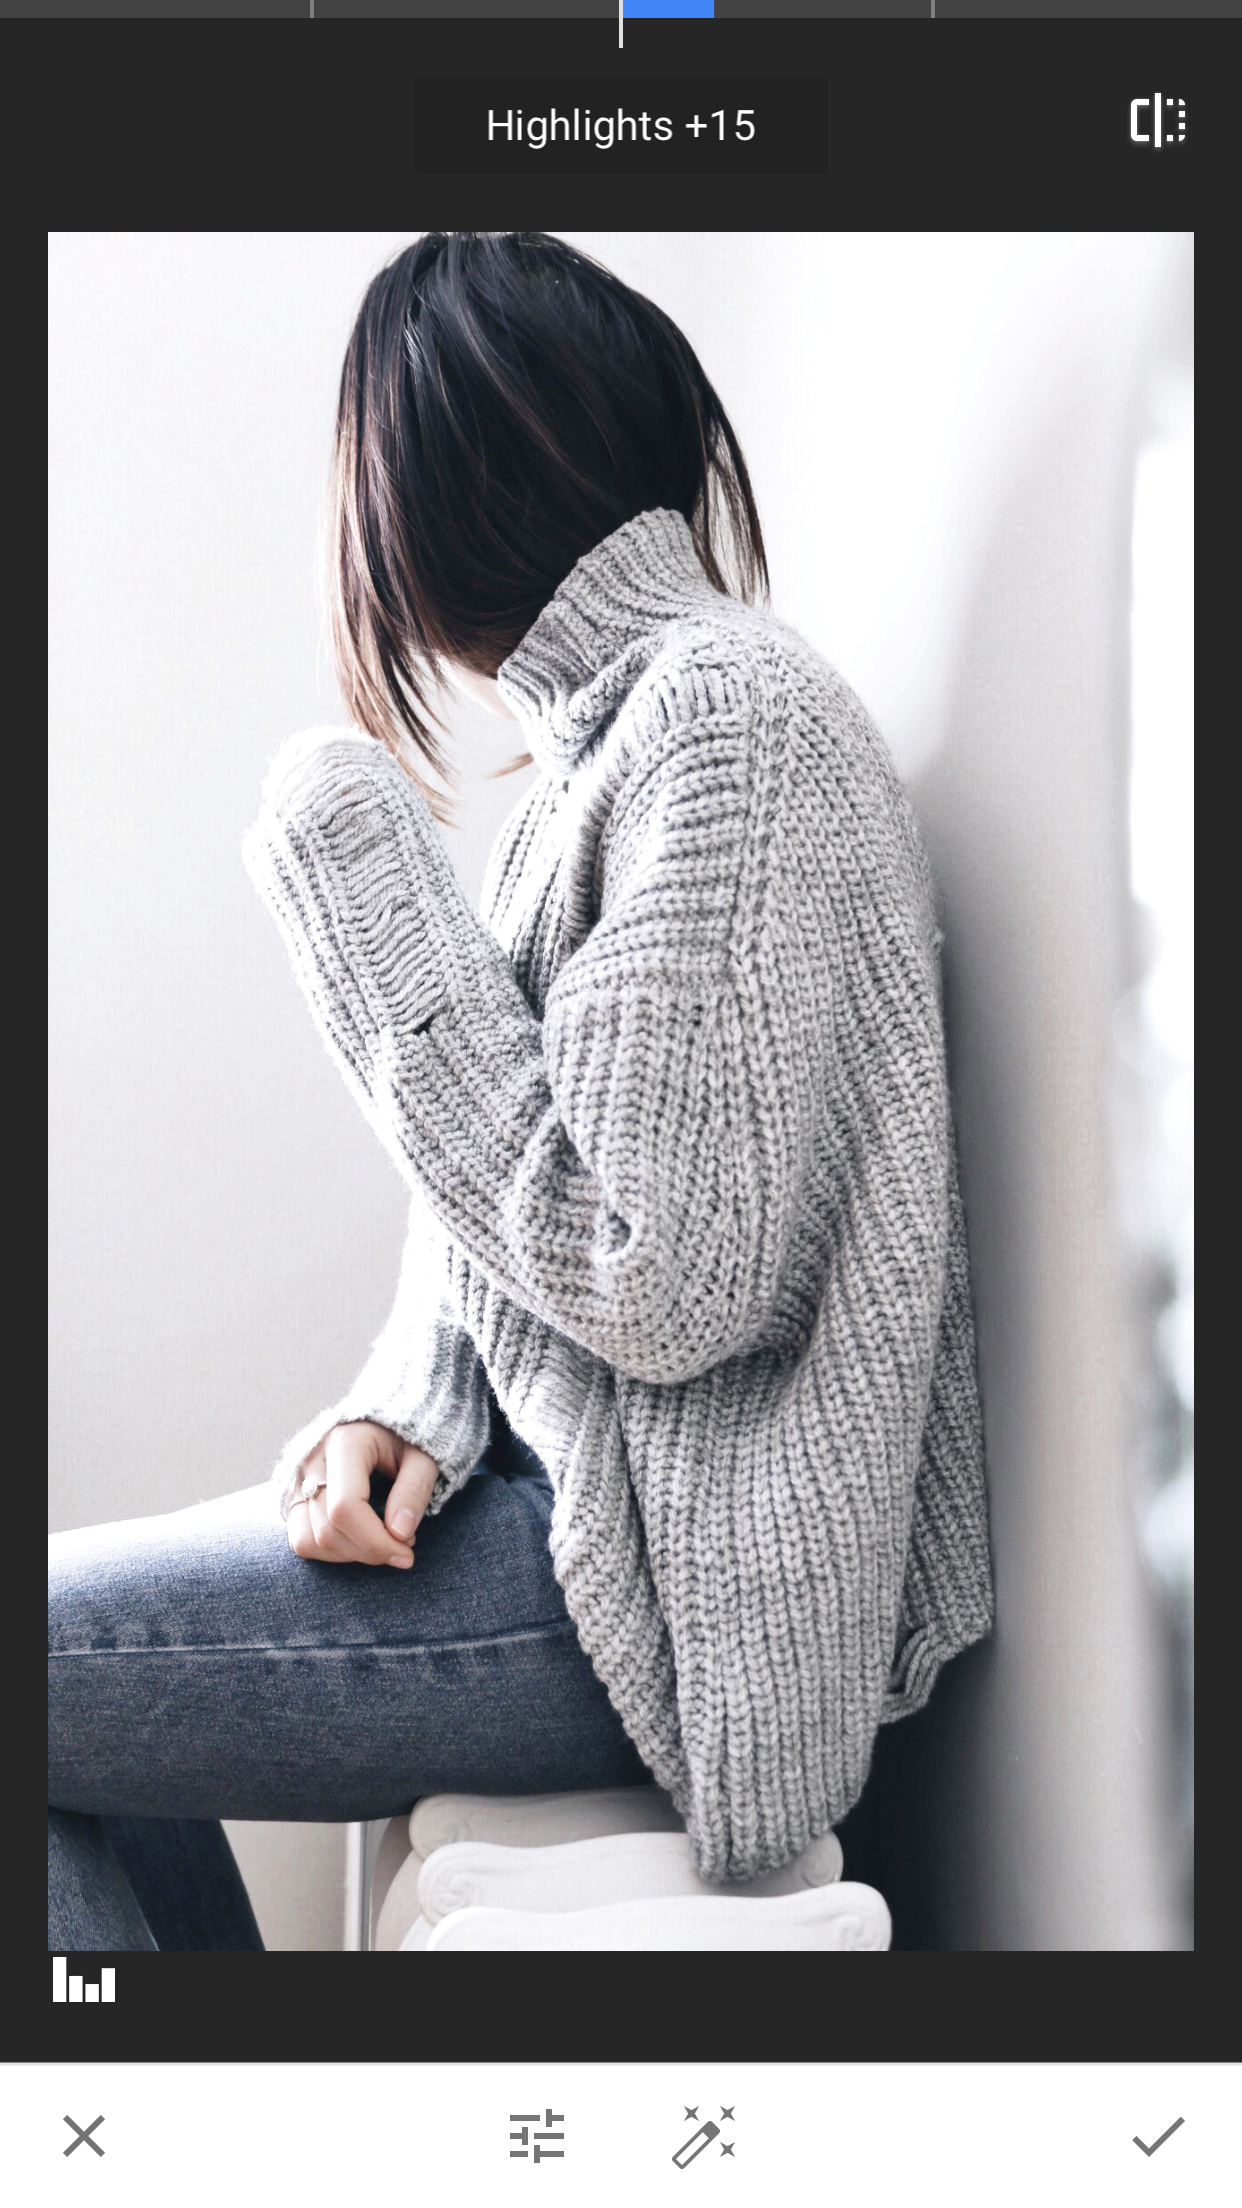
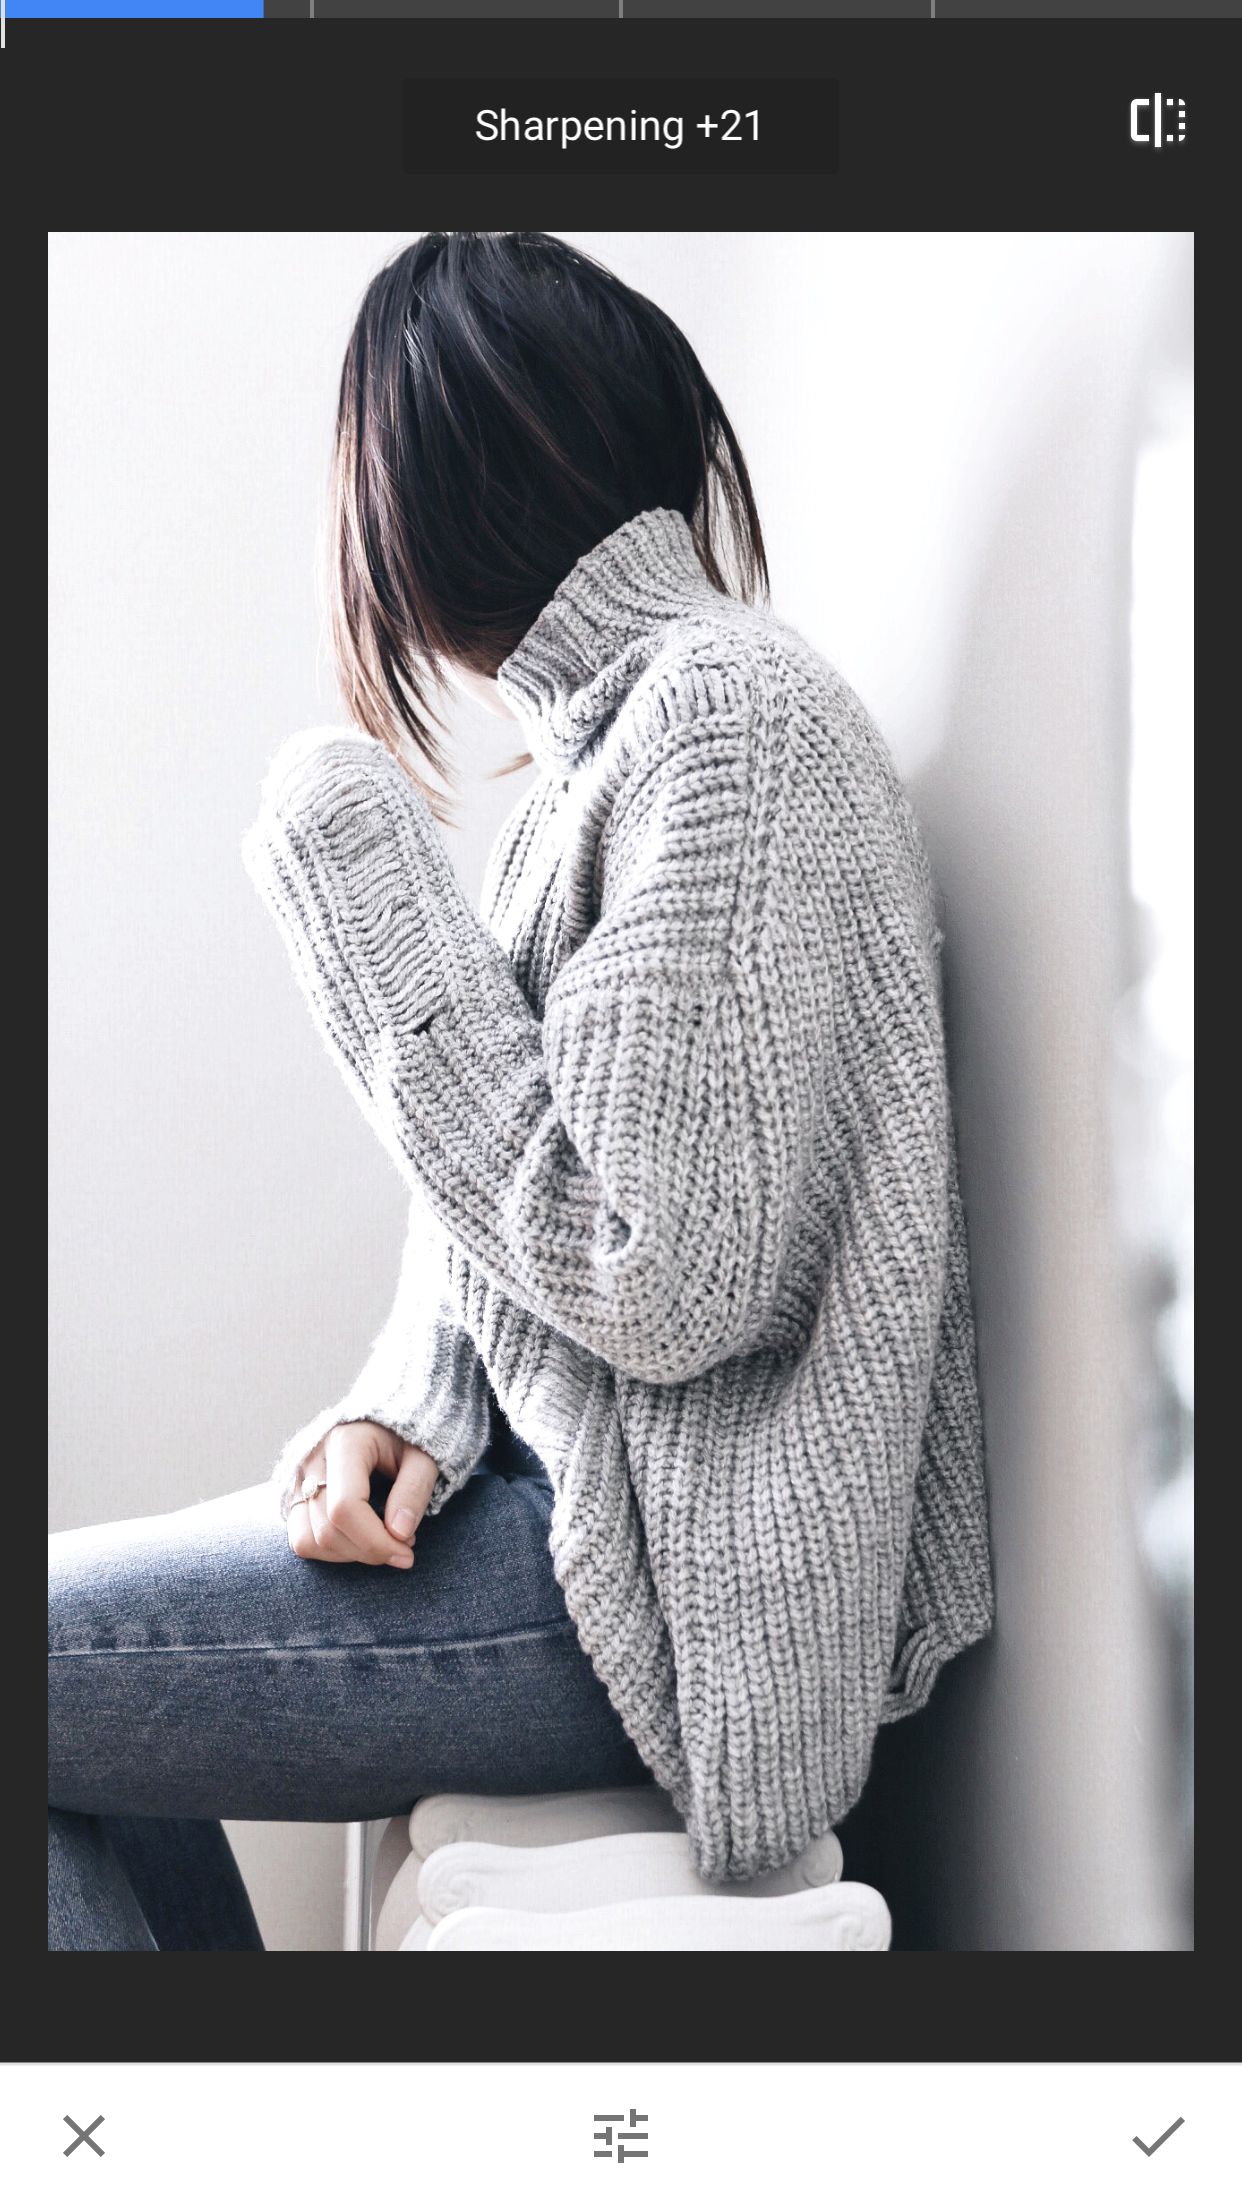
Snapseed is probably one of my absolute favorite apps. The sensitivity of this app is amazing + the option SELECTIVE allows you to pick exactly where you want it to play with BRIGHTEN, CONTRAST /or SATURATION. Here is where I finish my final edits until I am happy with the result!
OTHER APPS:
There are also other apps that I use on random occasions when the photo calls for it - like FACETUNE, VSCO, + SKWRT. I will be doing another post about them as well :)
I'll be doing more posts soon about the world of blogging, photography, content creating so please feel free to message me with anything you'd like to know more about + I'll get working on a post for you :)
Chat soon lovelies!
Jess

