HOME // FIRST LOOK AT MY NEW HOME
Hi cuties!
It’s finally time to share my initial home journey with you all!!
A huge thanks to Home Depot Canada who I partnered with to spruce up our new home !!
So why don’t we start way back at the beginning, back to even a few weeks before we got our new home!
Our closing date was mid January so we wanted to be as prepared as possible because it was both of our first home purchase. We weren’t 100% sure what we were going to do when we initially got the house other than cleaning EVERYTHING & painting. We had recently learnt that Home Depot’s Home Services now were offering painting AND cleaning services so we spent some time pondering if we should hire them or do it ourselves. In the end, since it was our first home we wanted to try and do everything ourselves… little did we know it would be SO TIRING + TIME CONSUMING.
So our first trip to Home Depot consisted of getting all our cleaning supplies that I’ve listed below. It was really easy to find everything we needed because it was all organized into one section of the store. We didn’t have to dilly dally like lost puppies, which I find I do a lot when I’m buying unfamiliar things!
Then, January 16, 2019 finally came. Trav and I blocked off our calendar for the next 5 days to deal with all the last minute home tasks. So that morning we woke up and made another trip to Home Depot! This time we were getting all the paint for the house because we had finally decided which white to get (Bit of Sugar), and which black (Broadway) to get.
We got our keys for the house around 3pm, so by the time we got to Guelph (where our new house is!) we only had enough time to clean the floors / walls to prep for the next day when we would actually start painting.
That first night I used the cleaning products I got from Home Depot to clean the floors and walls: the Vileda bee mop, Vileda mop bucket, and Mr. Clean cleaning solution. It took me a little over 6 hours to clean all the floors / walls of the house. Yes, my body was ACHING the next day hehe.
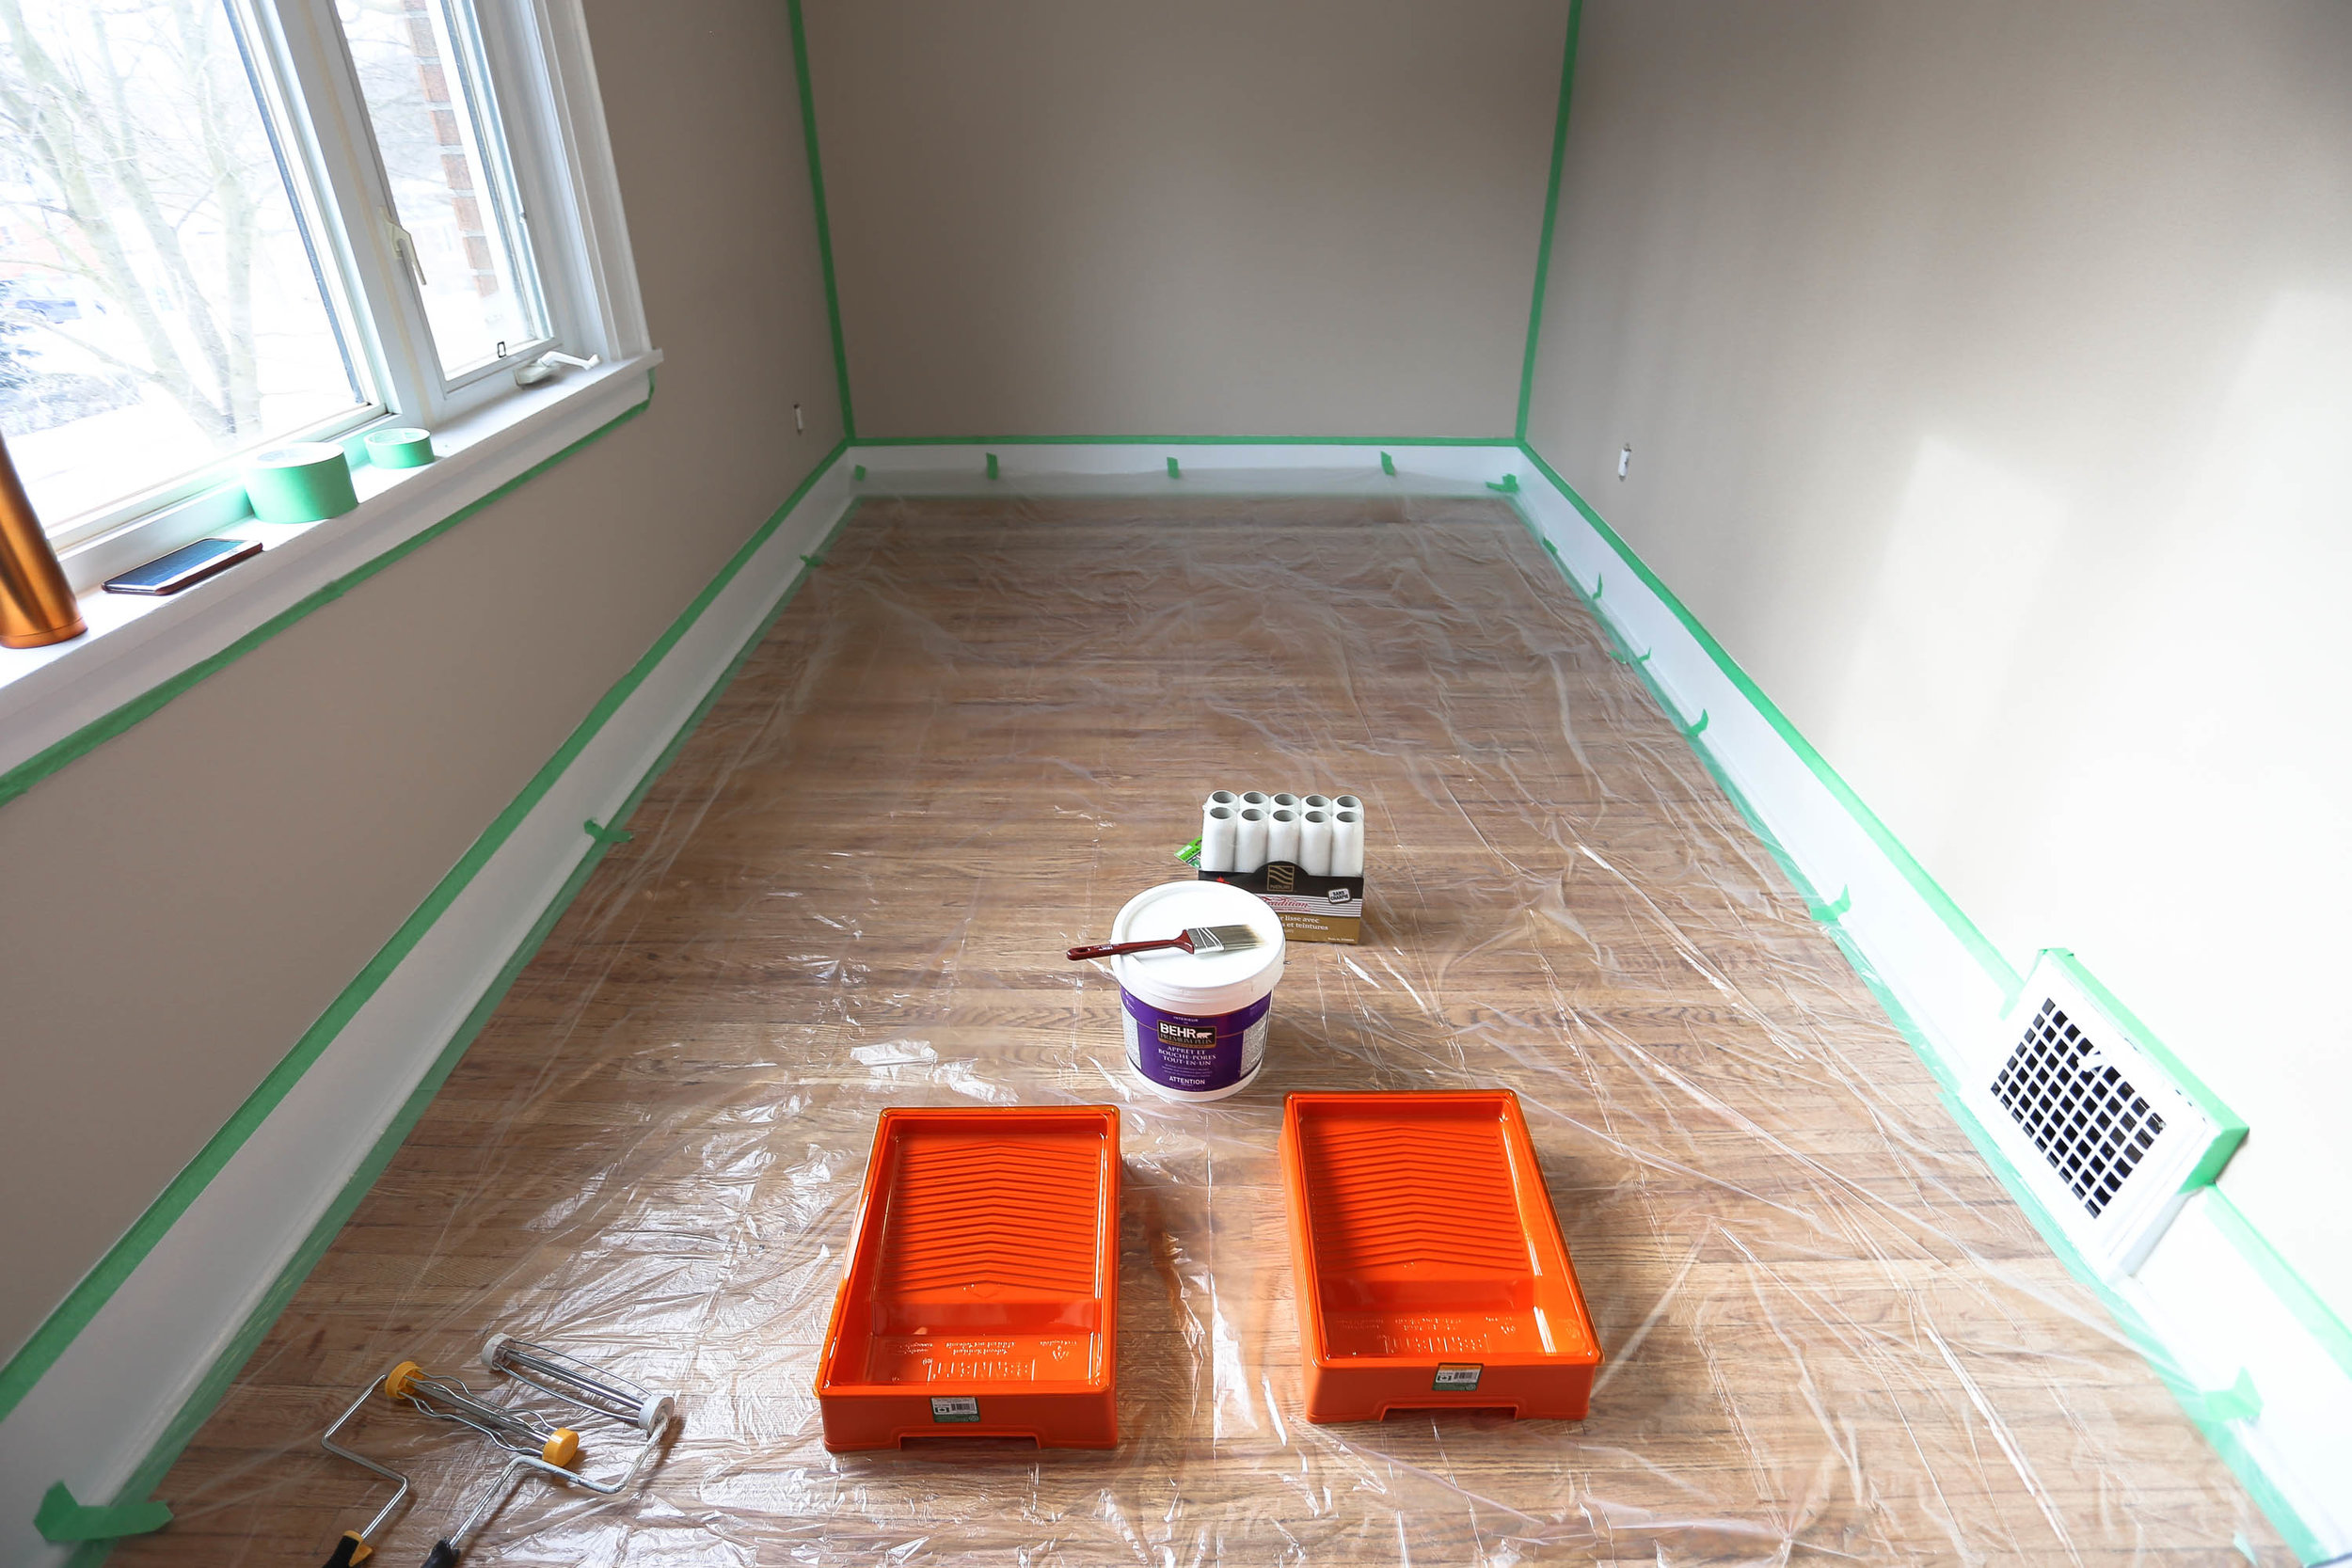
Day 2 was probably one of the longest days I’ve had in a long time. We got up at 5am, headed straight to Guelph, and started taping/painting. We painted from 8am to 10pm. I don’t know how I managed to drive 1.5h home after that!
*We were still sleeping at our place in Vaughan because we hadn’t moved our bed yet*
Thankfully the Behr paint barely had any odour so I was able to last so long painting because normally I am super sensitive to chemical odours, but was totally fine with the primer & main coat! We used a primer first because even though the walls in the house looked like a light mushroom brown, it was significantly darker than the white we chose and would take extra coats to cover it up! The primer definitely made the difference to ensure we got as even of a paint result as we could.
By Day 3, we had painted most of the upstairs with only 1 coat left for my “cloffice” and the extra bedroom, and the black accent wall in the master bedroom. It took us a lot longer to paint because the house being so old has plaster walls, so there are many uneven grooves that took extra coats to make it look even. I never thought I’d love black paint so much, but the Behr Premium Plus Ultra Interior Eggshell Enamel went on LIKE A DREAM. The paint was so smooth and the color turned out so luxe. If Travis would agree, I’d paint more parts of the house with this paint/color!! I’m obsessed.
Day 4 was our big moving day, so we had all the major rooms painted/cleaned so that our furniture could come in from Vaughan and we could start actually living in our home!
It took a few days for us to get sorted before we started on the stairs.
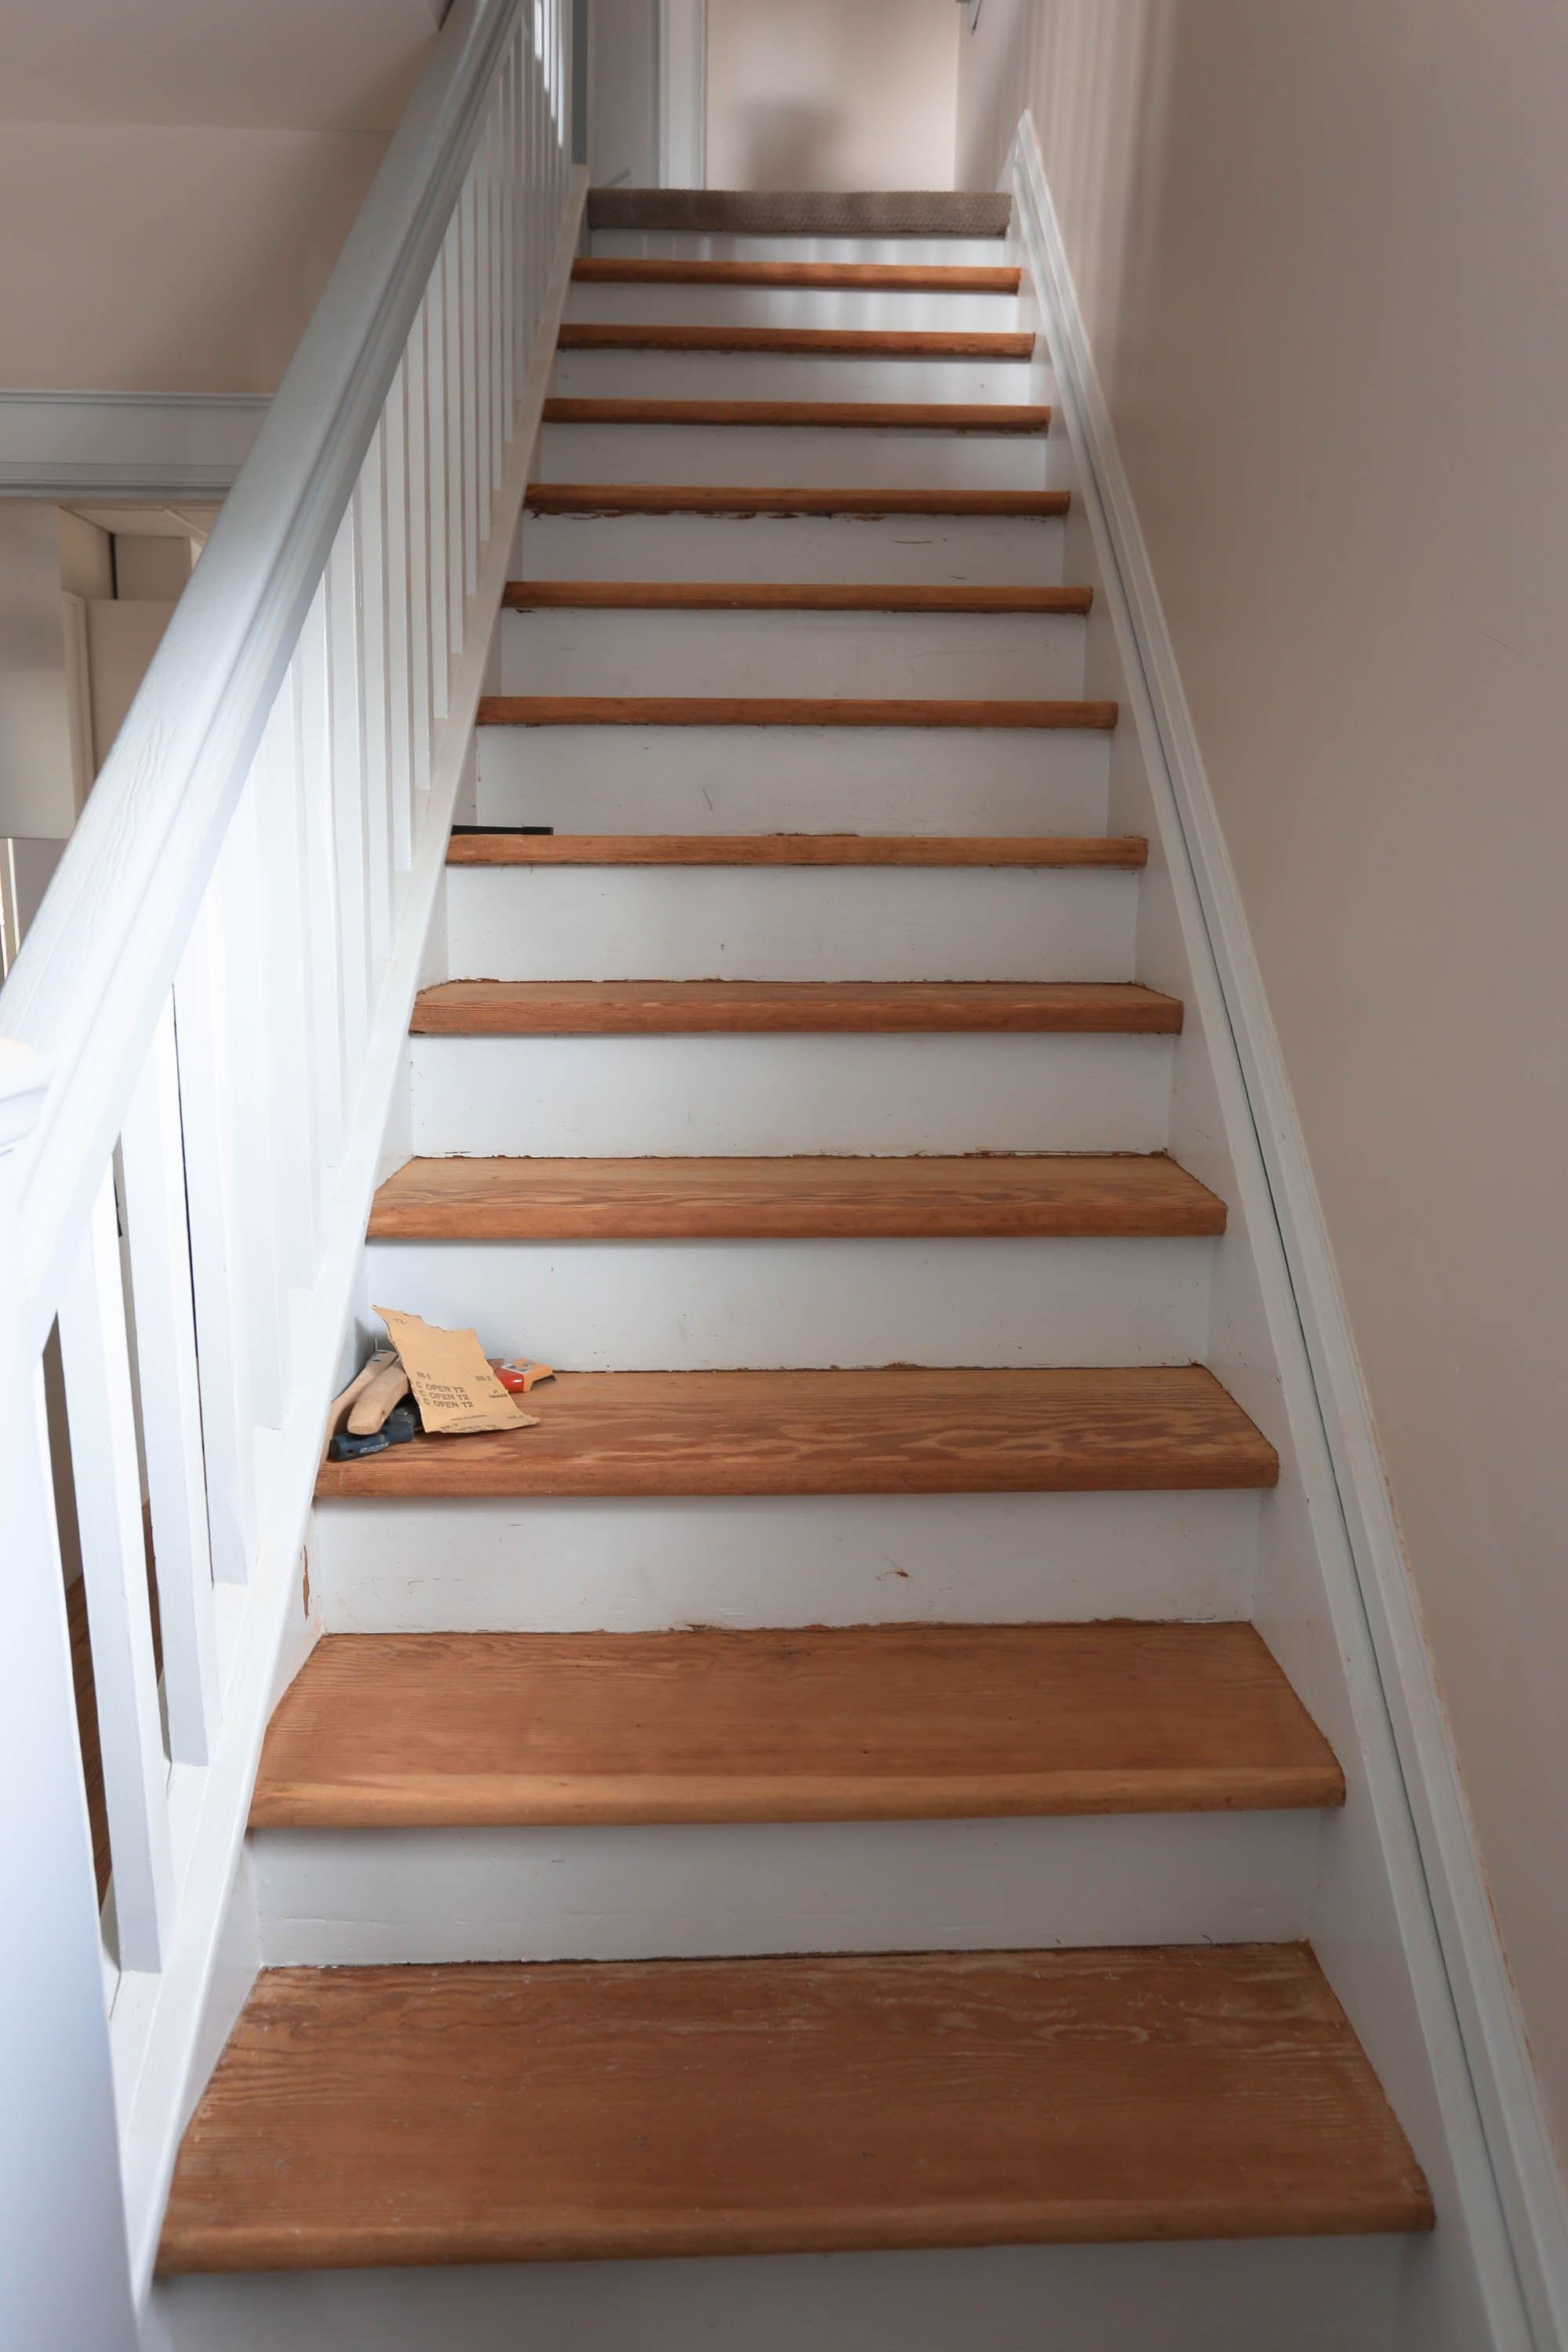
OH THE STAIRS. I don’t think I’ll ever agree to strip/redo stairs myself ever again. It took us over 3 weeks from start to finish, which meant we couldn’t walk up and down the stairs normally that entire time! Thankfully though, I think it was well worth it because it’s now one of our favourite parts of the house!
We started off with using paint remover to strip the paint that was on the stairs, then we scraped any left over paint off, and used the Ryobi Sheet Sander to buff out the steps because they were pretty groovy from almost 100 years of wear and tear. The stripping process took us the most time because we were not used to doing this, it took about 2 hours per step! Then we had to go through each step with a tiny pick to remove any old paint that got into the little holes in the wood so that when we sealed it with a clear coat, it wouldn’t look messy.
When all of that was finally done we started to paint the posts and railings because we wanted to make sure we wanted to keep the natural wood. We didn’t know how it would look with the black railing and white posts, which we knew we wanted 100%. After we painted the railing, posts and trim, we loved how the natural wood stood out beside the contract of the black and white!! So we headed back to Home Depot to purchase a clear sealant. We didn’t need a stain because we loved the color of the wood naturally.
We ended up choosing a clear and matte sealant. I was surprised that even though it was “clear” and “matte” the wood got quite a bit darker and still has a little bit of gloss to it! So if you’re thinking you just want a little shine on your steps, I’d say matte would be perfect!
Little did we know though, that the sealant needed 4 coats, with 2 hr wait time in between, and a 3 day non-use period!! So when we thought we only had a day left of work to do … it turned into another full week. YES, if you follow me on Instagram, you now know why I was struggling and feeling so overwhelmed!
Anyways, eventually put on the last coat of sealant, hopped and skipped steps for 3 more days, and now we are the happiest of clams! I never knew I’d miss walking down every step of a staircase so much!!
I’ve also never loved any material object as much as I’m loving our home right now. As much as I feel mentally and physically exhausted, knowing that we did all this with our own hands definitely makes it worth it.
That being said … we did not expect it to take so long and to take so much energy! Looking back now, when we were given the option to use Home Depot’s new Home Services to help us paint and clean (PLUS over 100 services that can connect me directly with local pros in my area), I would have totally used it. So next time, I am 100% taking advantage of their new Home Services !!
Hope you enjoyed reading / watching my process!
xx
Jess
Products Used:
VILEDA bee mop
VIDLEDA mop bucket
MR. CLEAN summer citrus multi-surface disinfectant cleaning solution
LYSOL Wipes
QEP Extra Large Sponge
PAINTER’S MATE GREEN tape
BENNET Medium Weight Plastic Drop Sheet
Paint Roller
NOUR Woven Lint Free Roller Refills
HDX Brush 3 Pack
BENNET Jumbo Plastic Tray
BENNET Jumbo Plastic Tray Liner
Behr Premium Plus Primer
Behr Interior Eggshell Enamel - Bit of Sugar
Behr Premium Plus Ultra Interior Eggshell Enamel - Broadway
Paint Remover
Mineral Cleaner
A. Richard 14” Ergo Grip Paint Scraper
THD Wood Handle Wire Brush
Ryobi 1/3 Sheet Sander
VARATHANE nano defence premium clear floor finish - matte
WOOSTER 2 inch Pro Nylon/Polyester Short Rubber Handle Angle Sash Brush


